Prerequisites
Before configuring SCIM Directory Sync, you must first create and configure a SAML application in Okta.Create Okta SAML Application
Follow our guide to configure Okta SAML Single Sign-On for your Biqli Workspace.
Step 1: Configure Directory Sync on Biqli
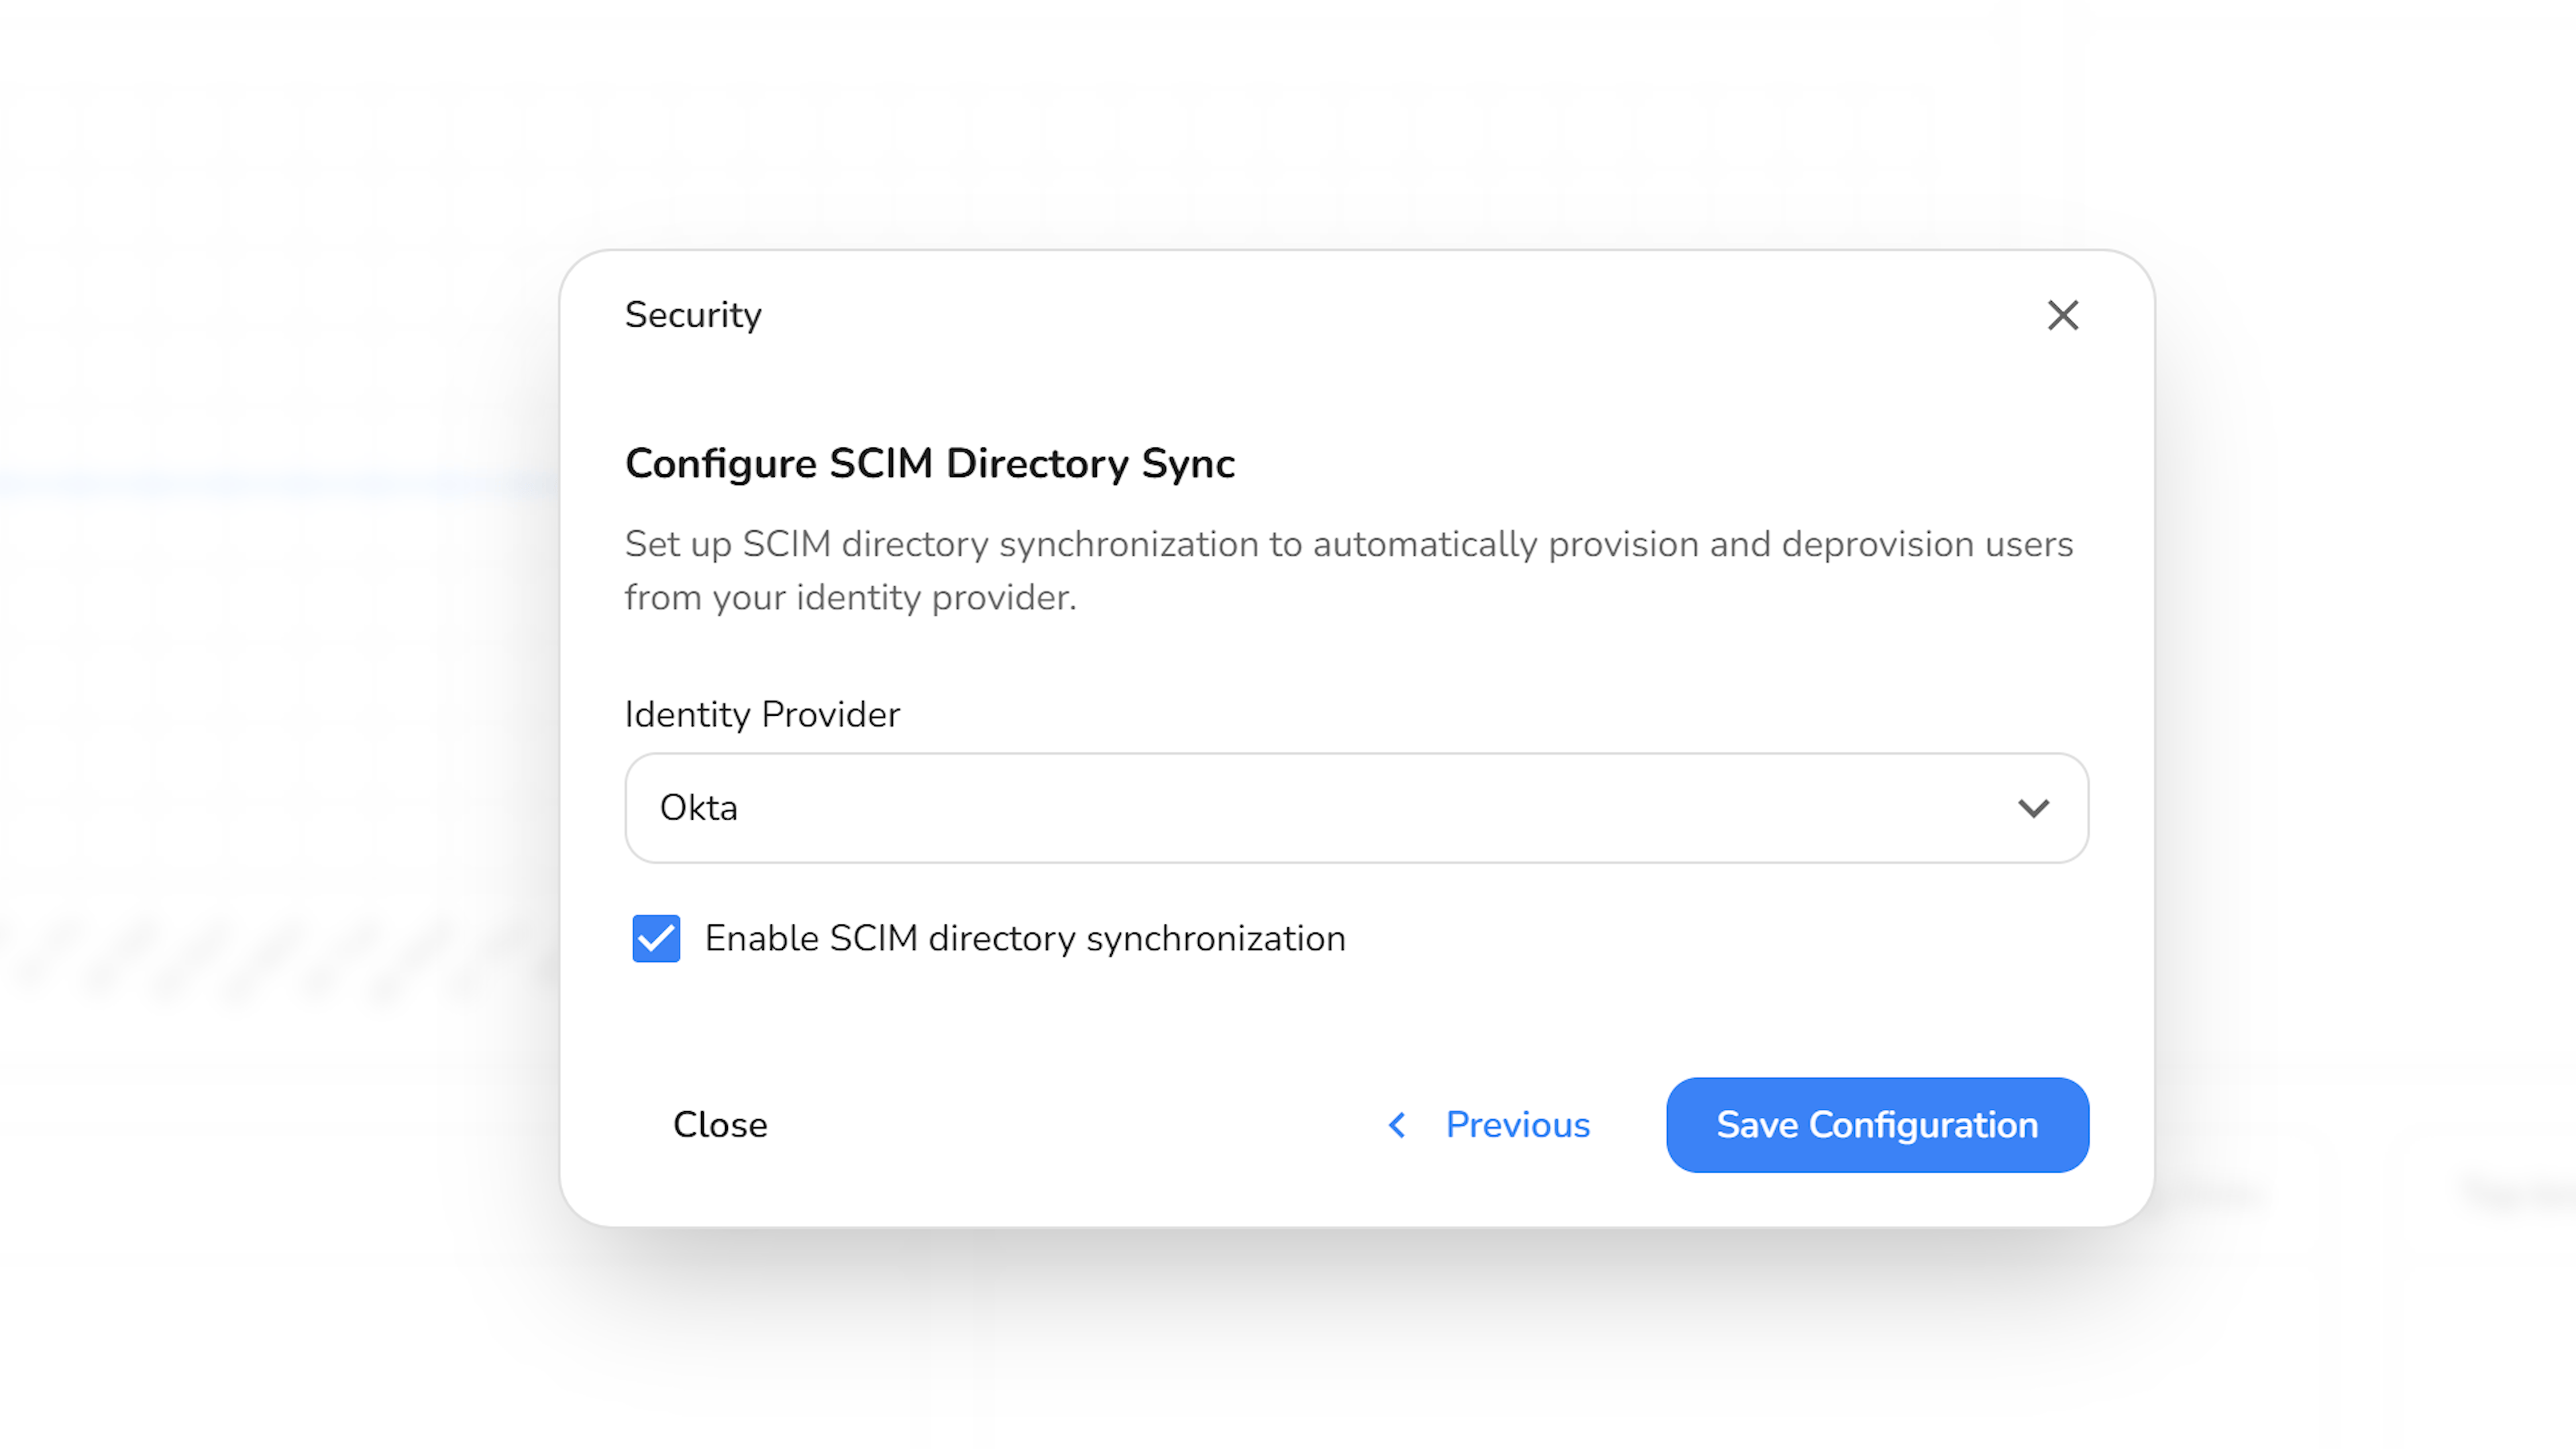
Navigate to your workspace Security Settings. Under the Directory Sync section, click Configure SCIM to start setting up SCIM provisioning for your workspace.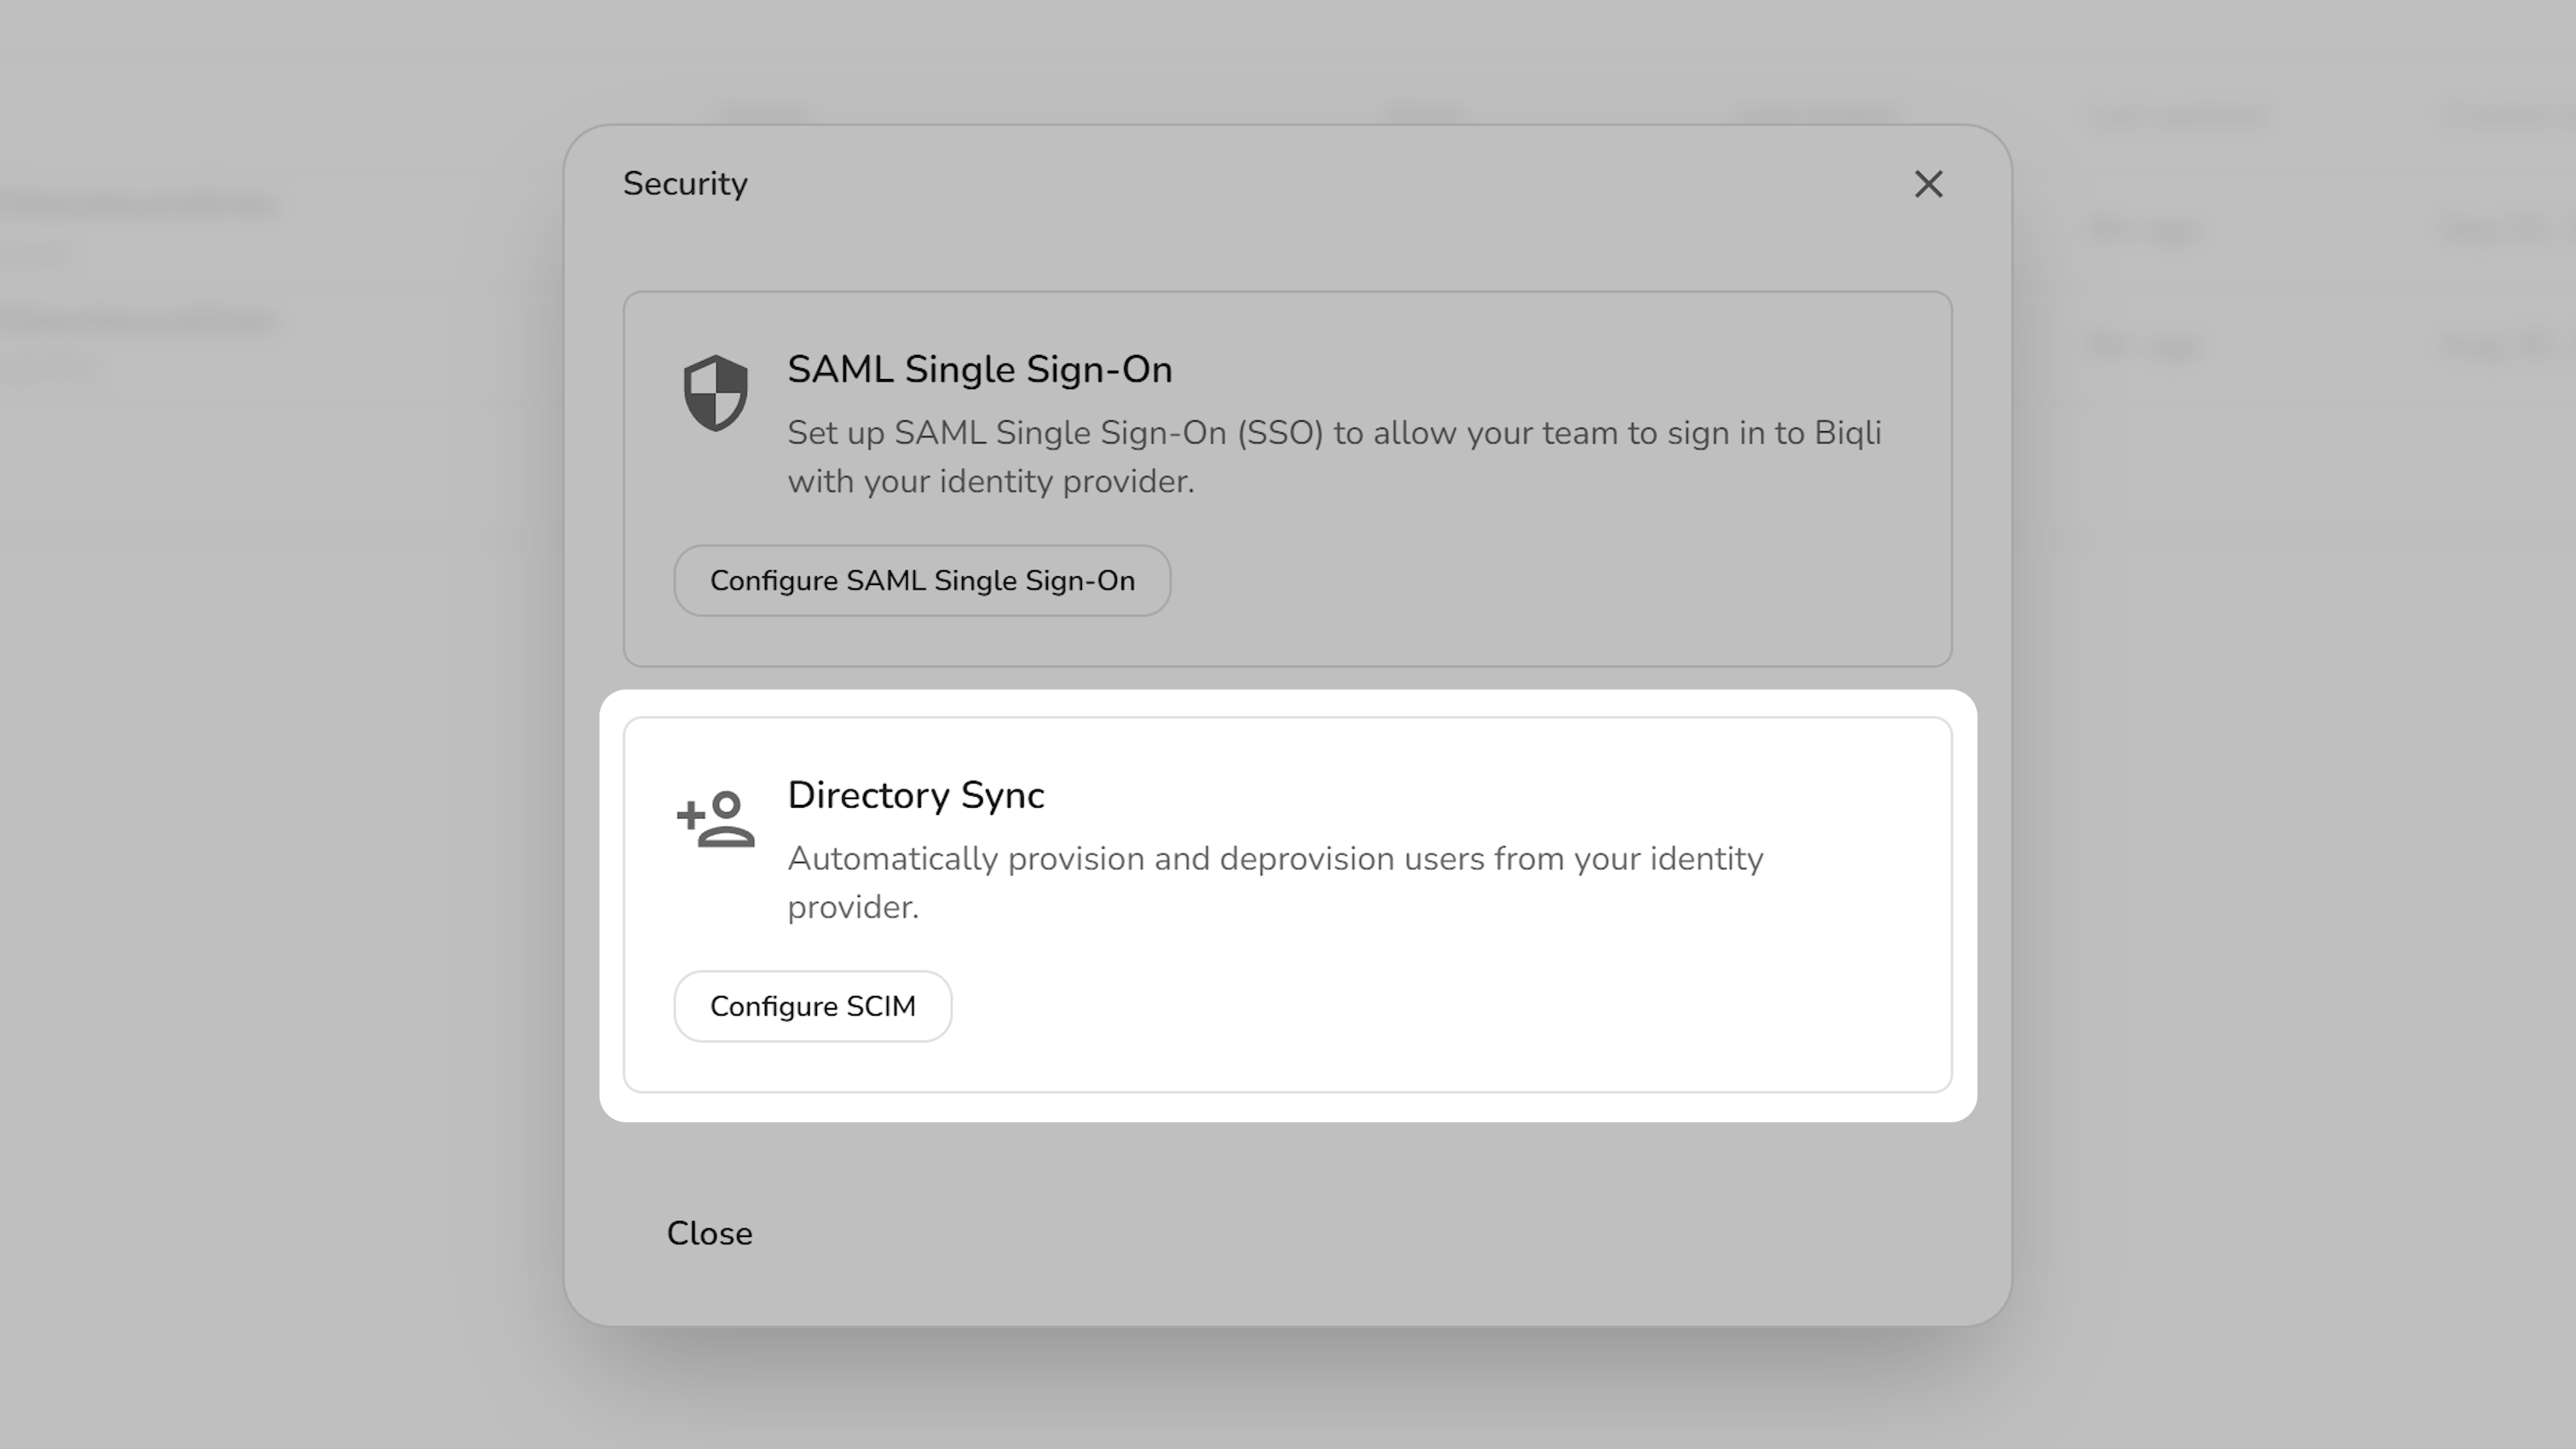
- Select Identity Provider: Choose Okta as your directory provider.
- Enable SCIM: Toggle on SCIM directory synchronization.
- Click Save changes.
- SCIM 2.0 Base URL
- OAuth Bearer Token
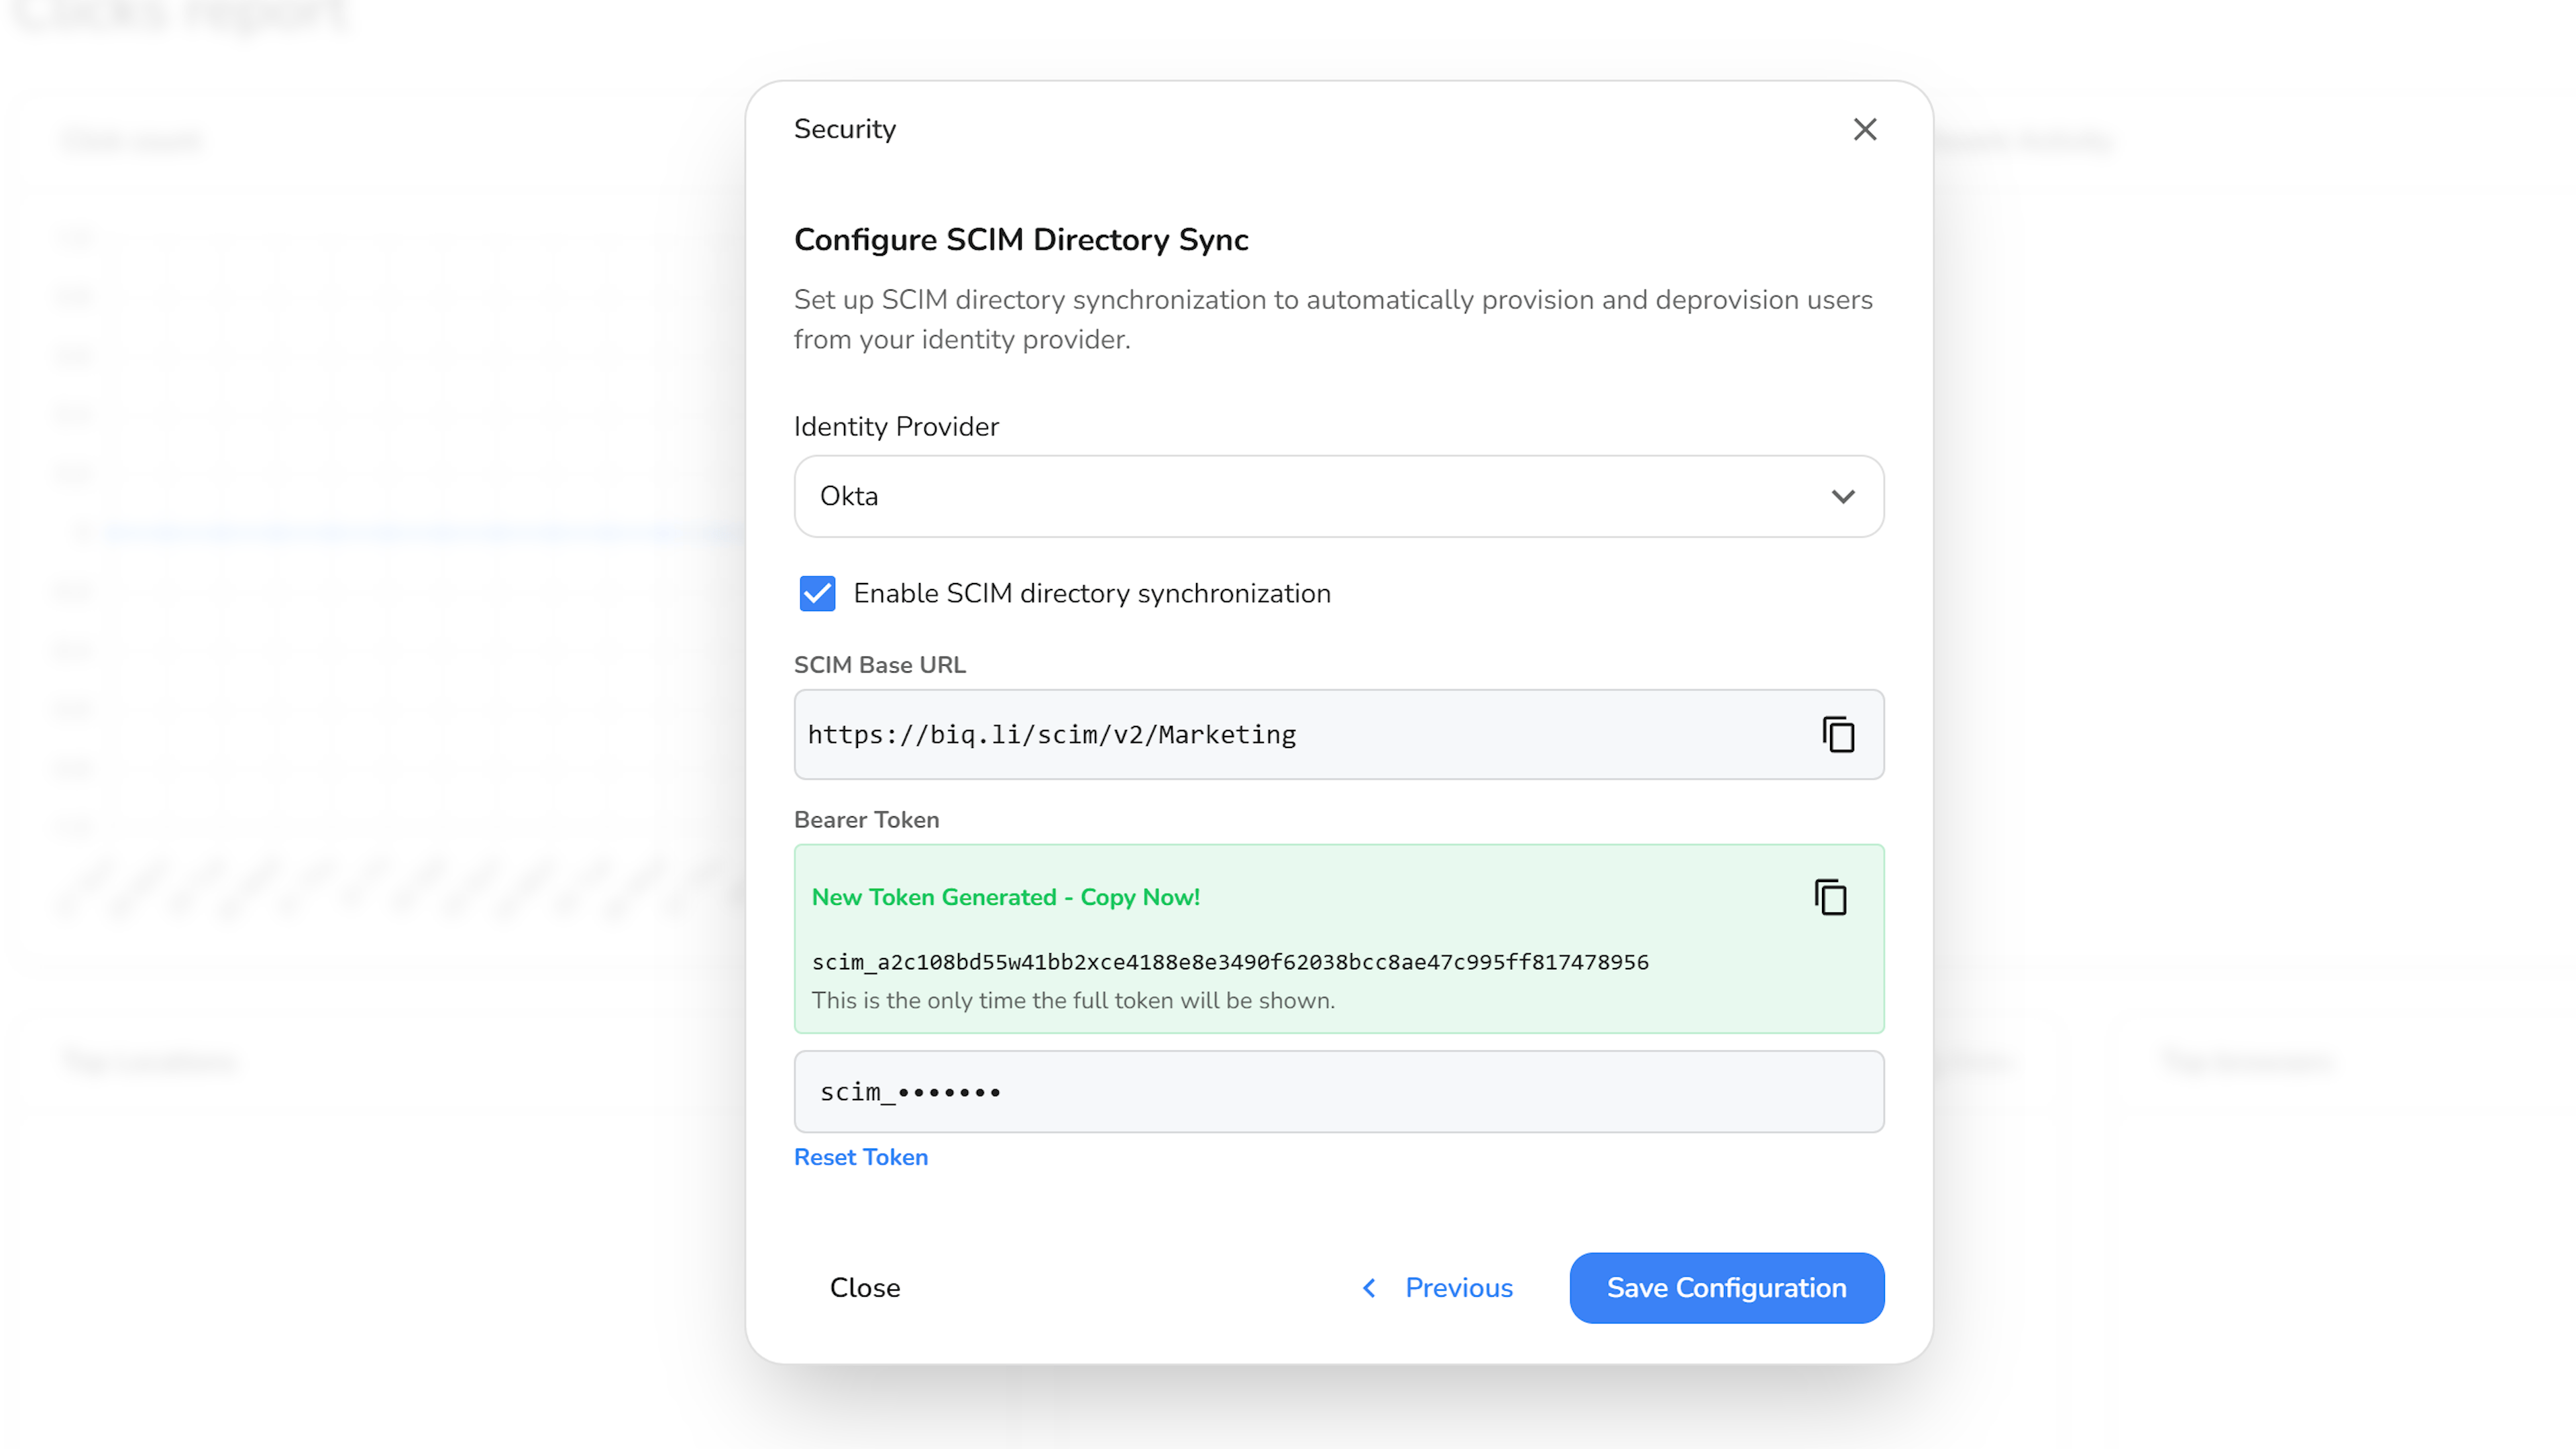
Step 2: Add Provisioning to SAML Application
Open the General tab of your existing Biqli Okta SAML application in your Okta Admin Console. Under App Settings, click Edit.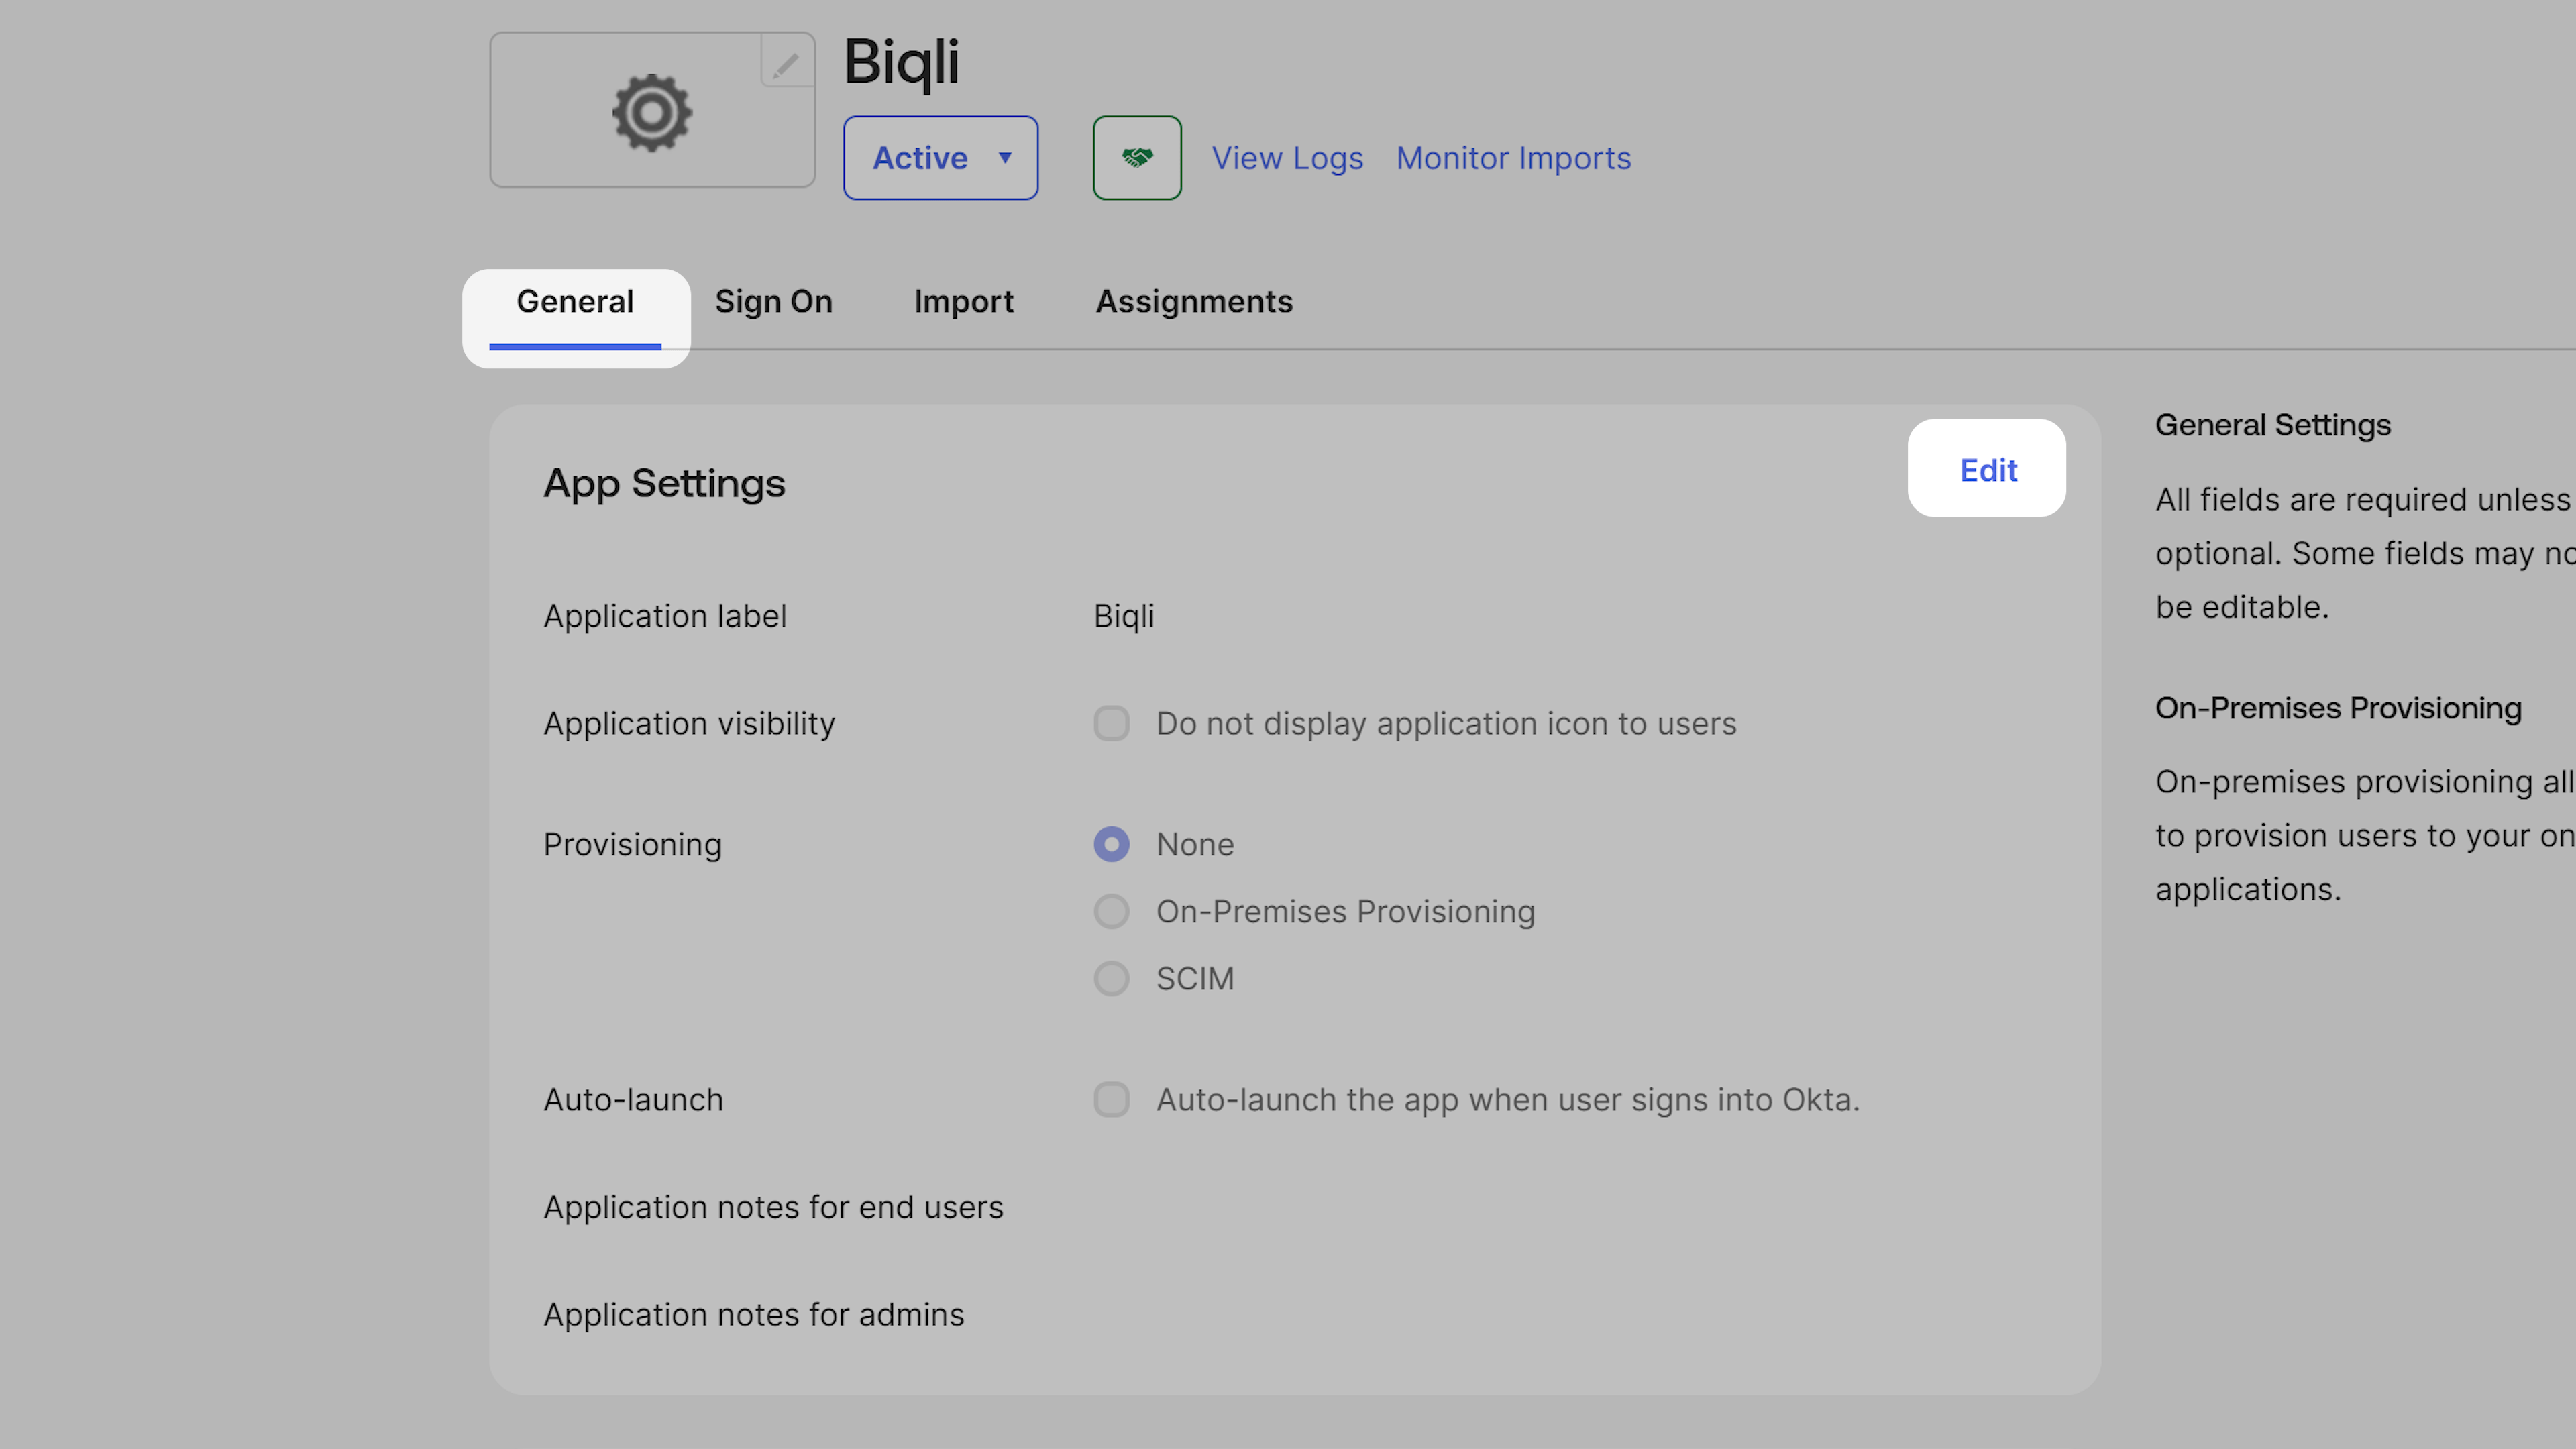
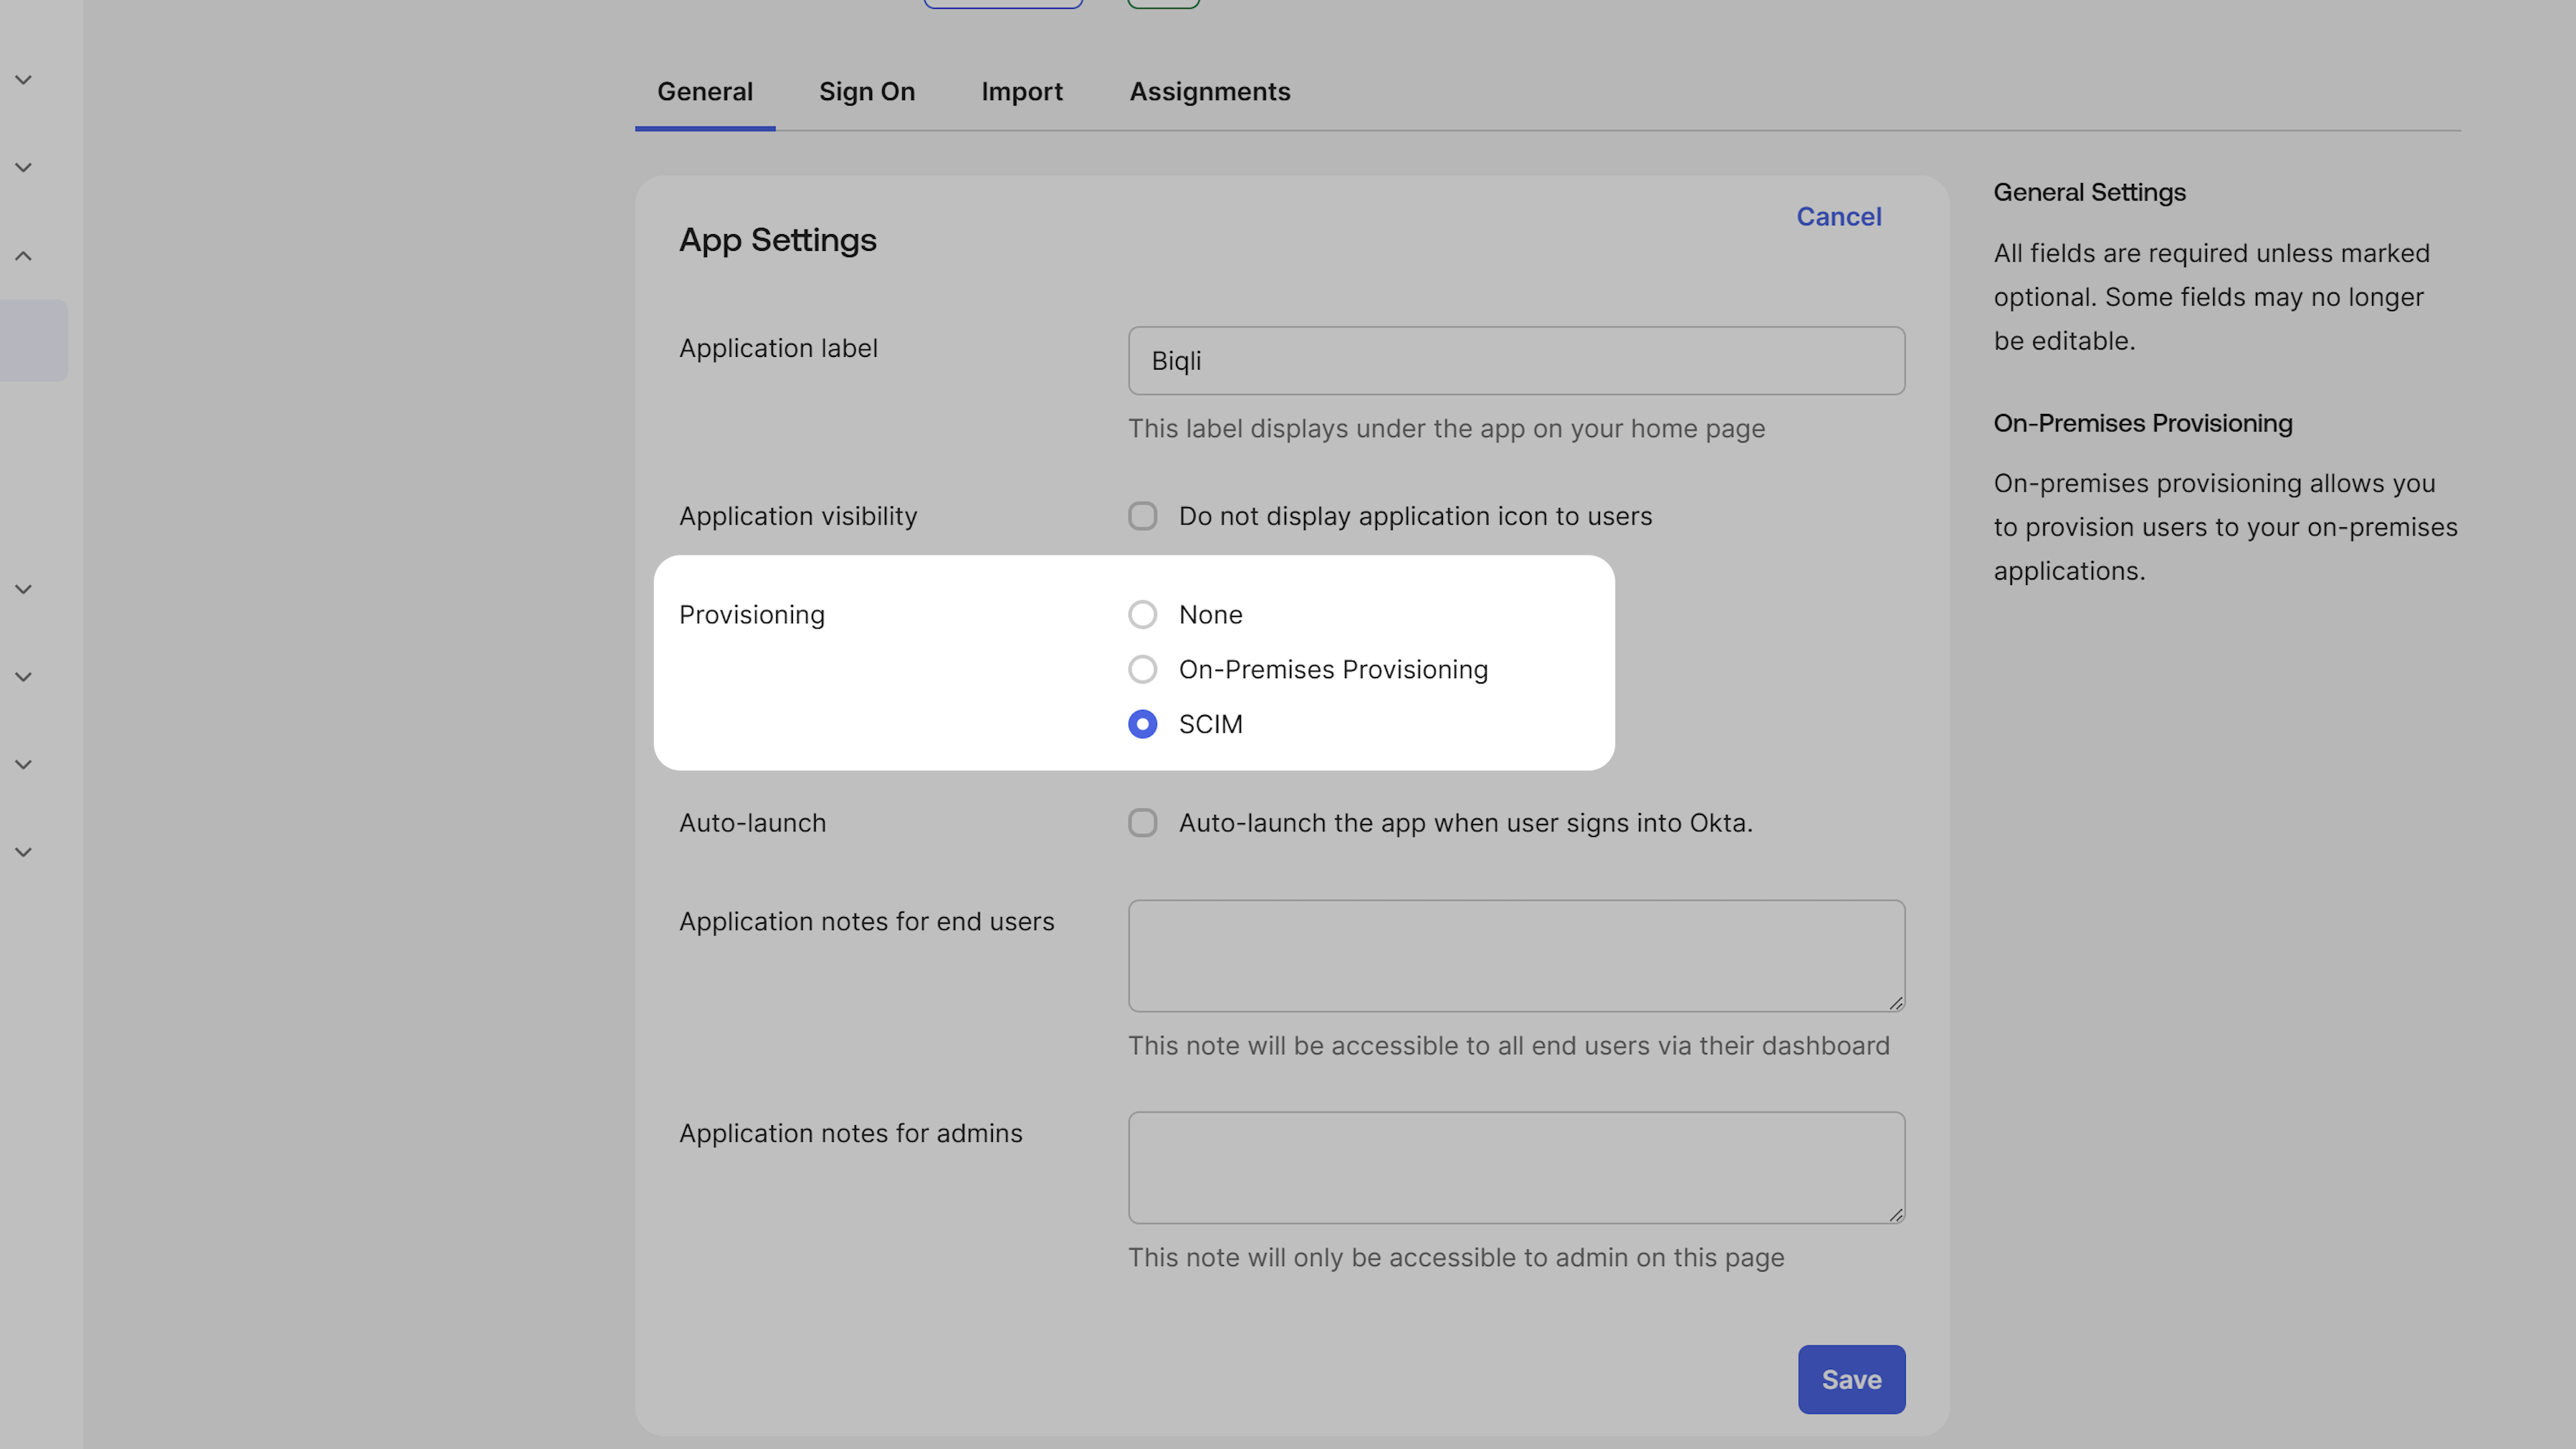
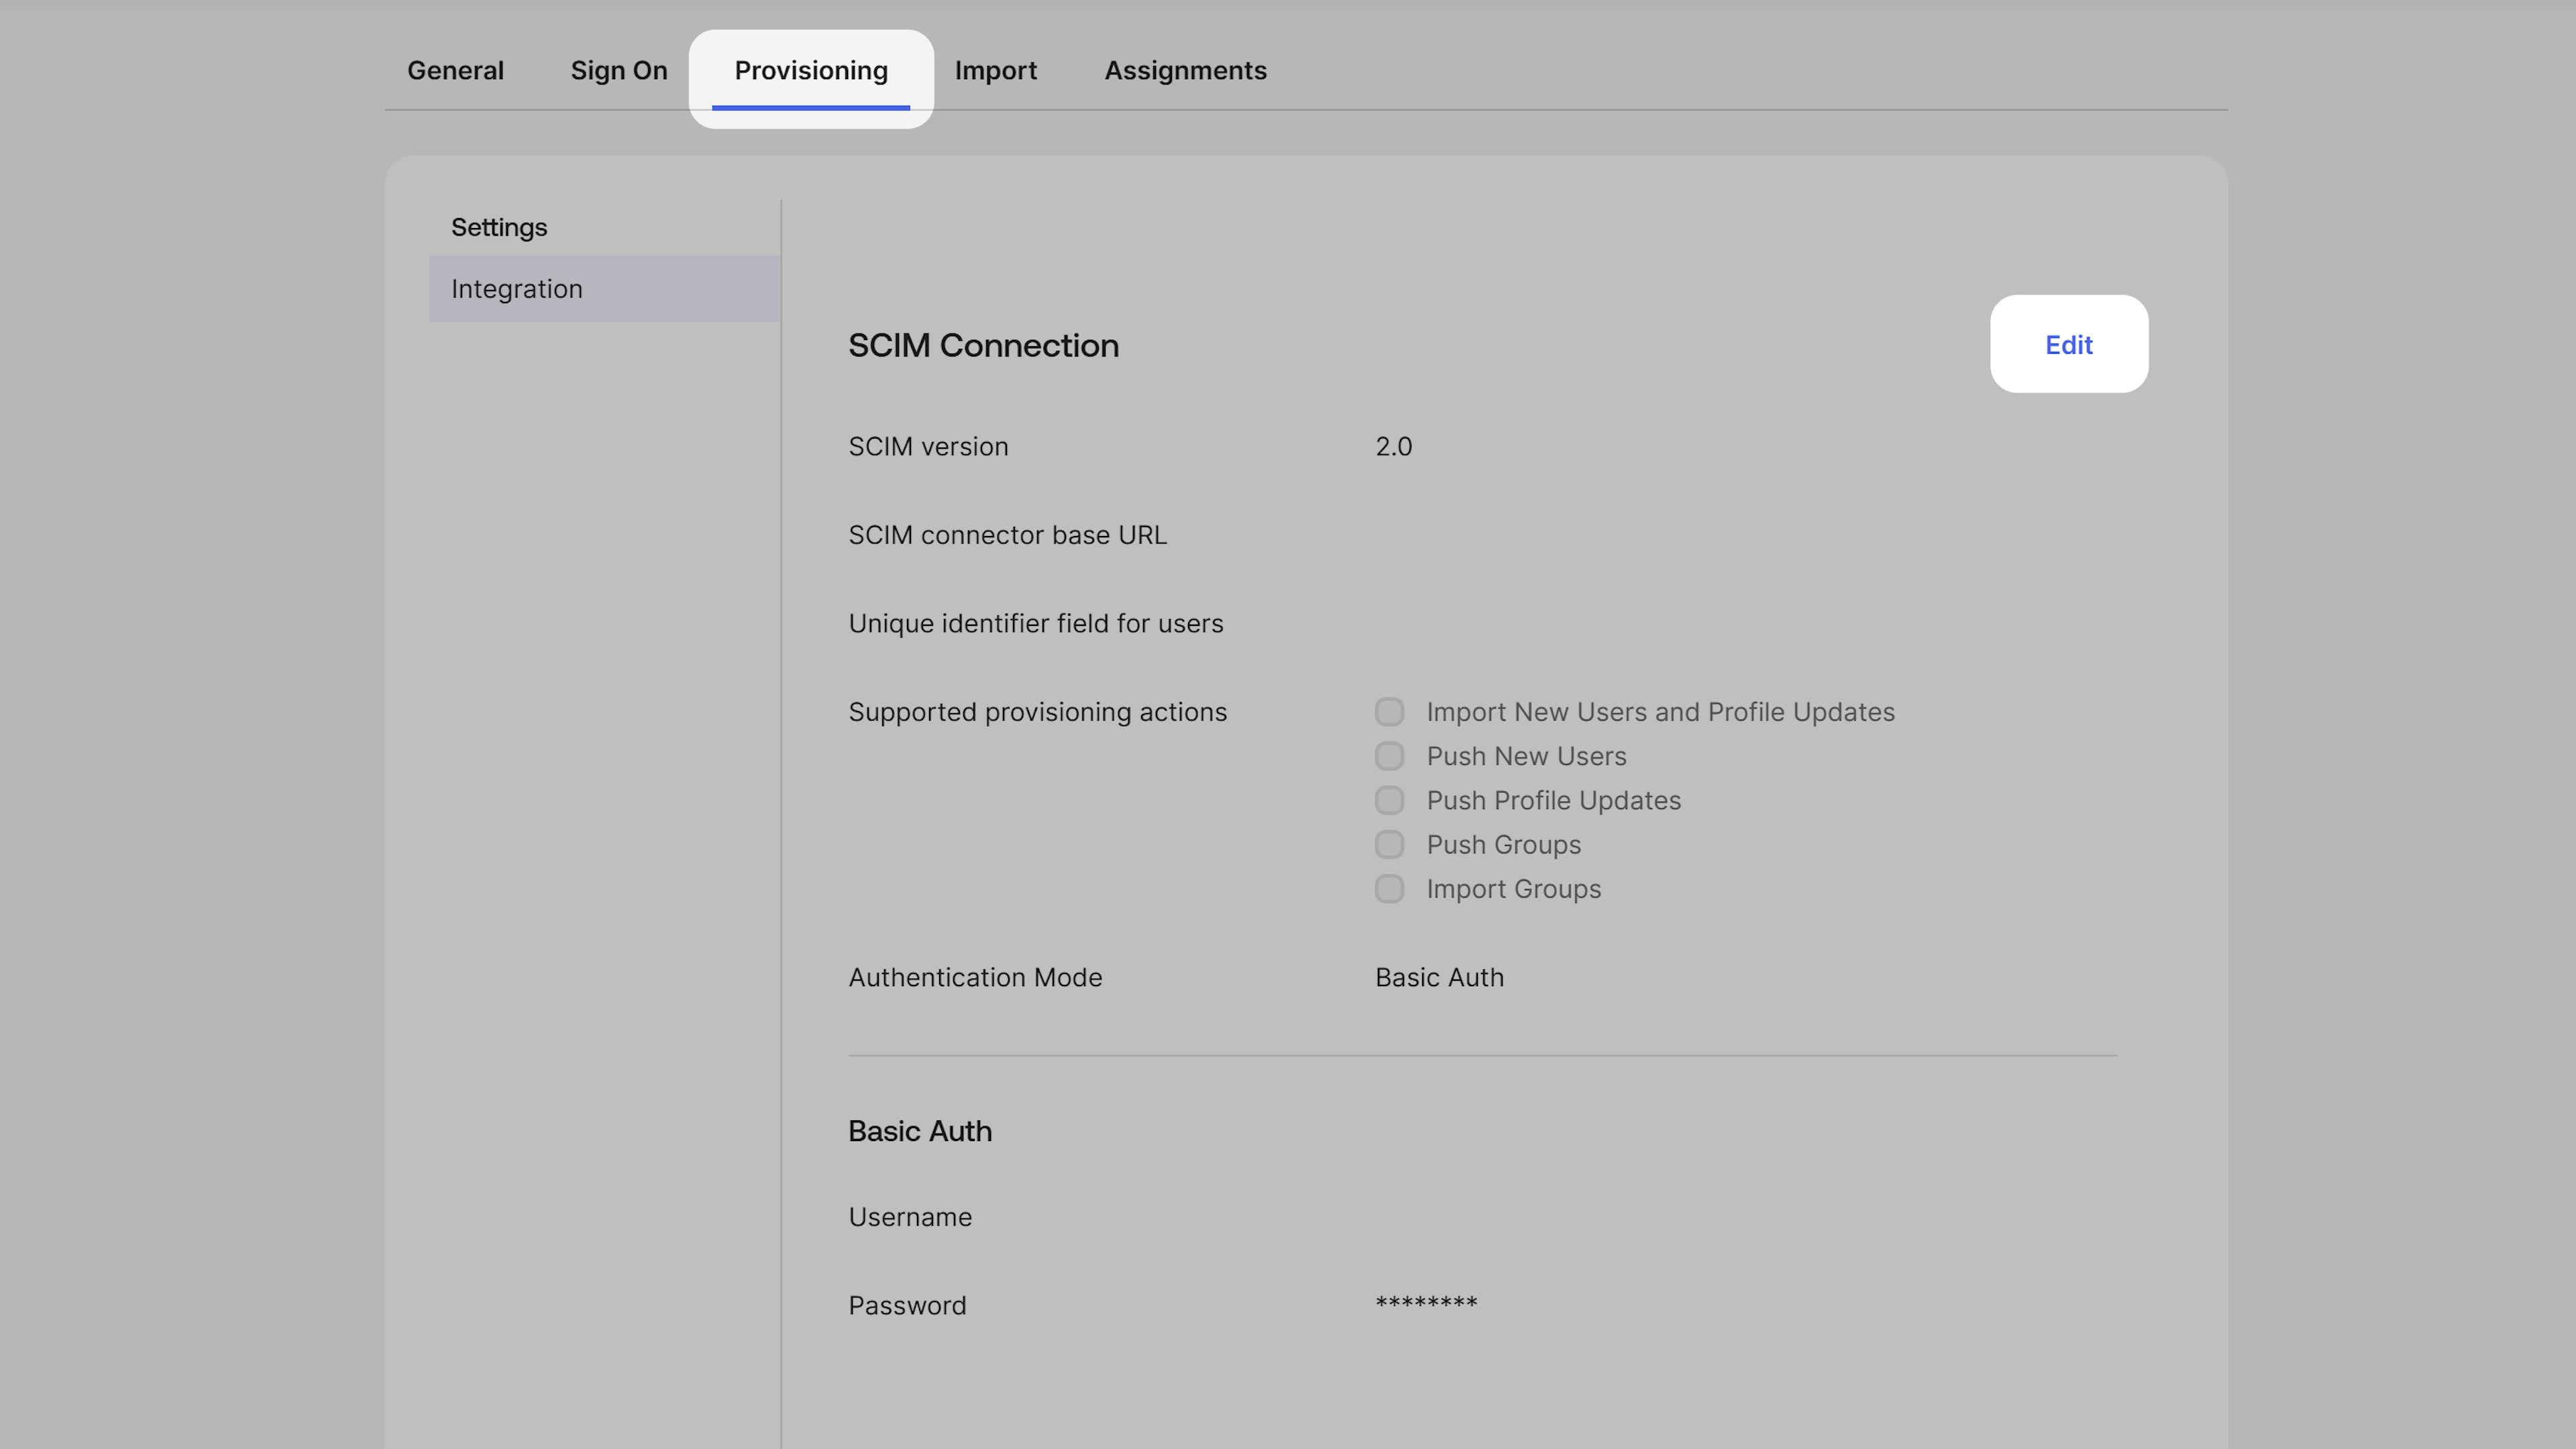
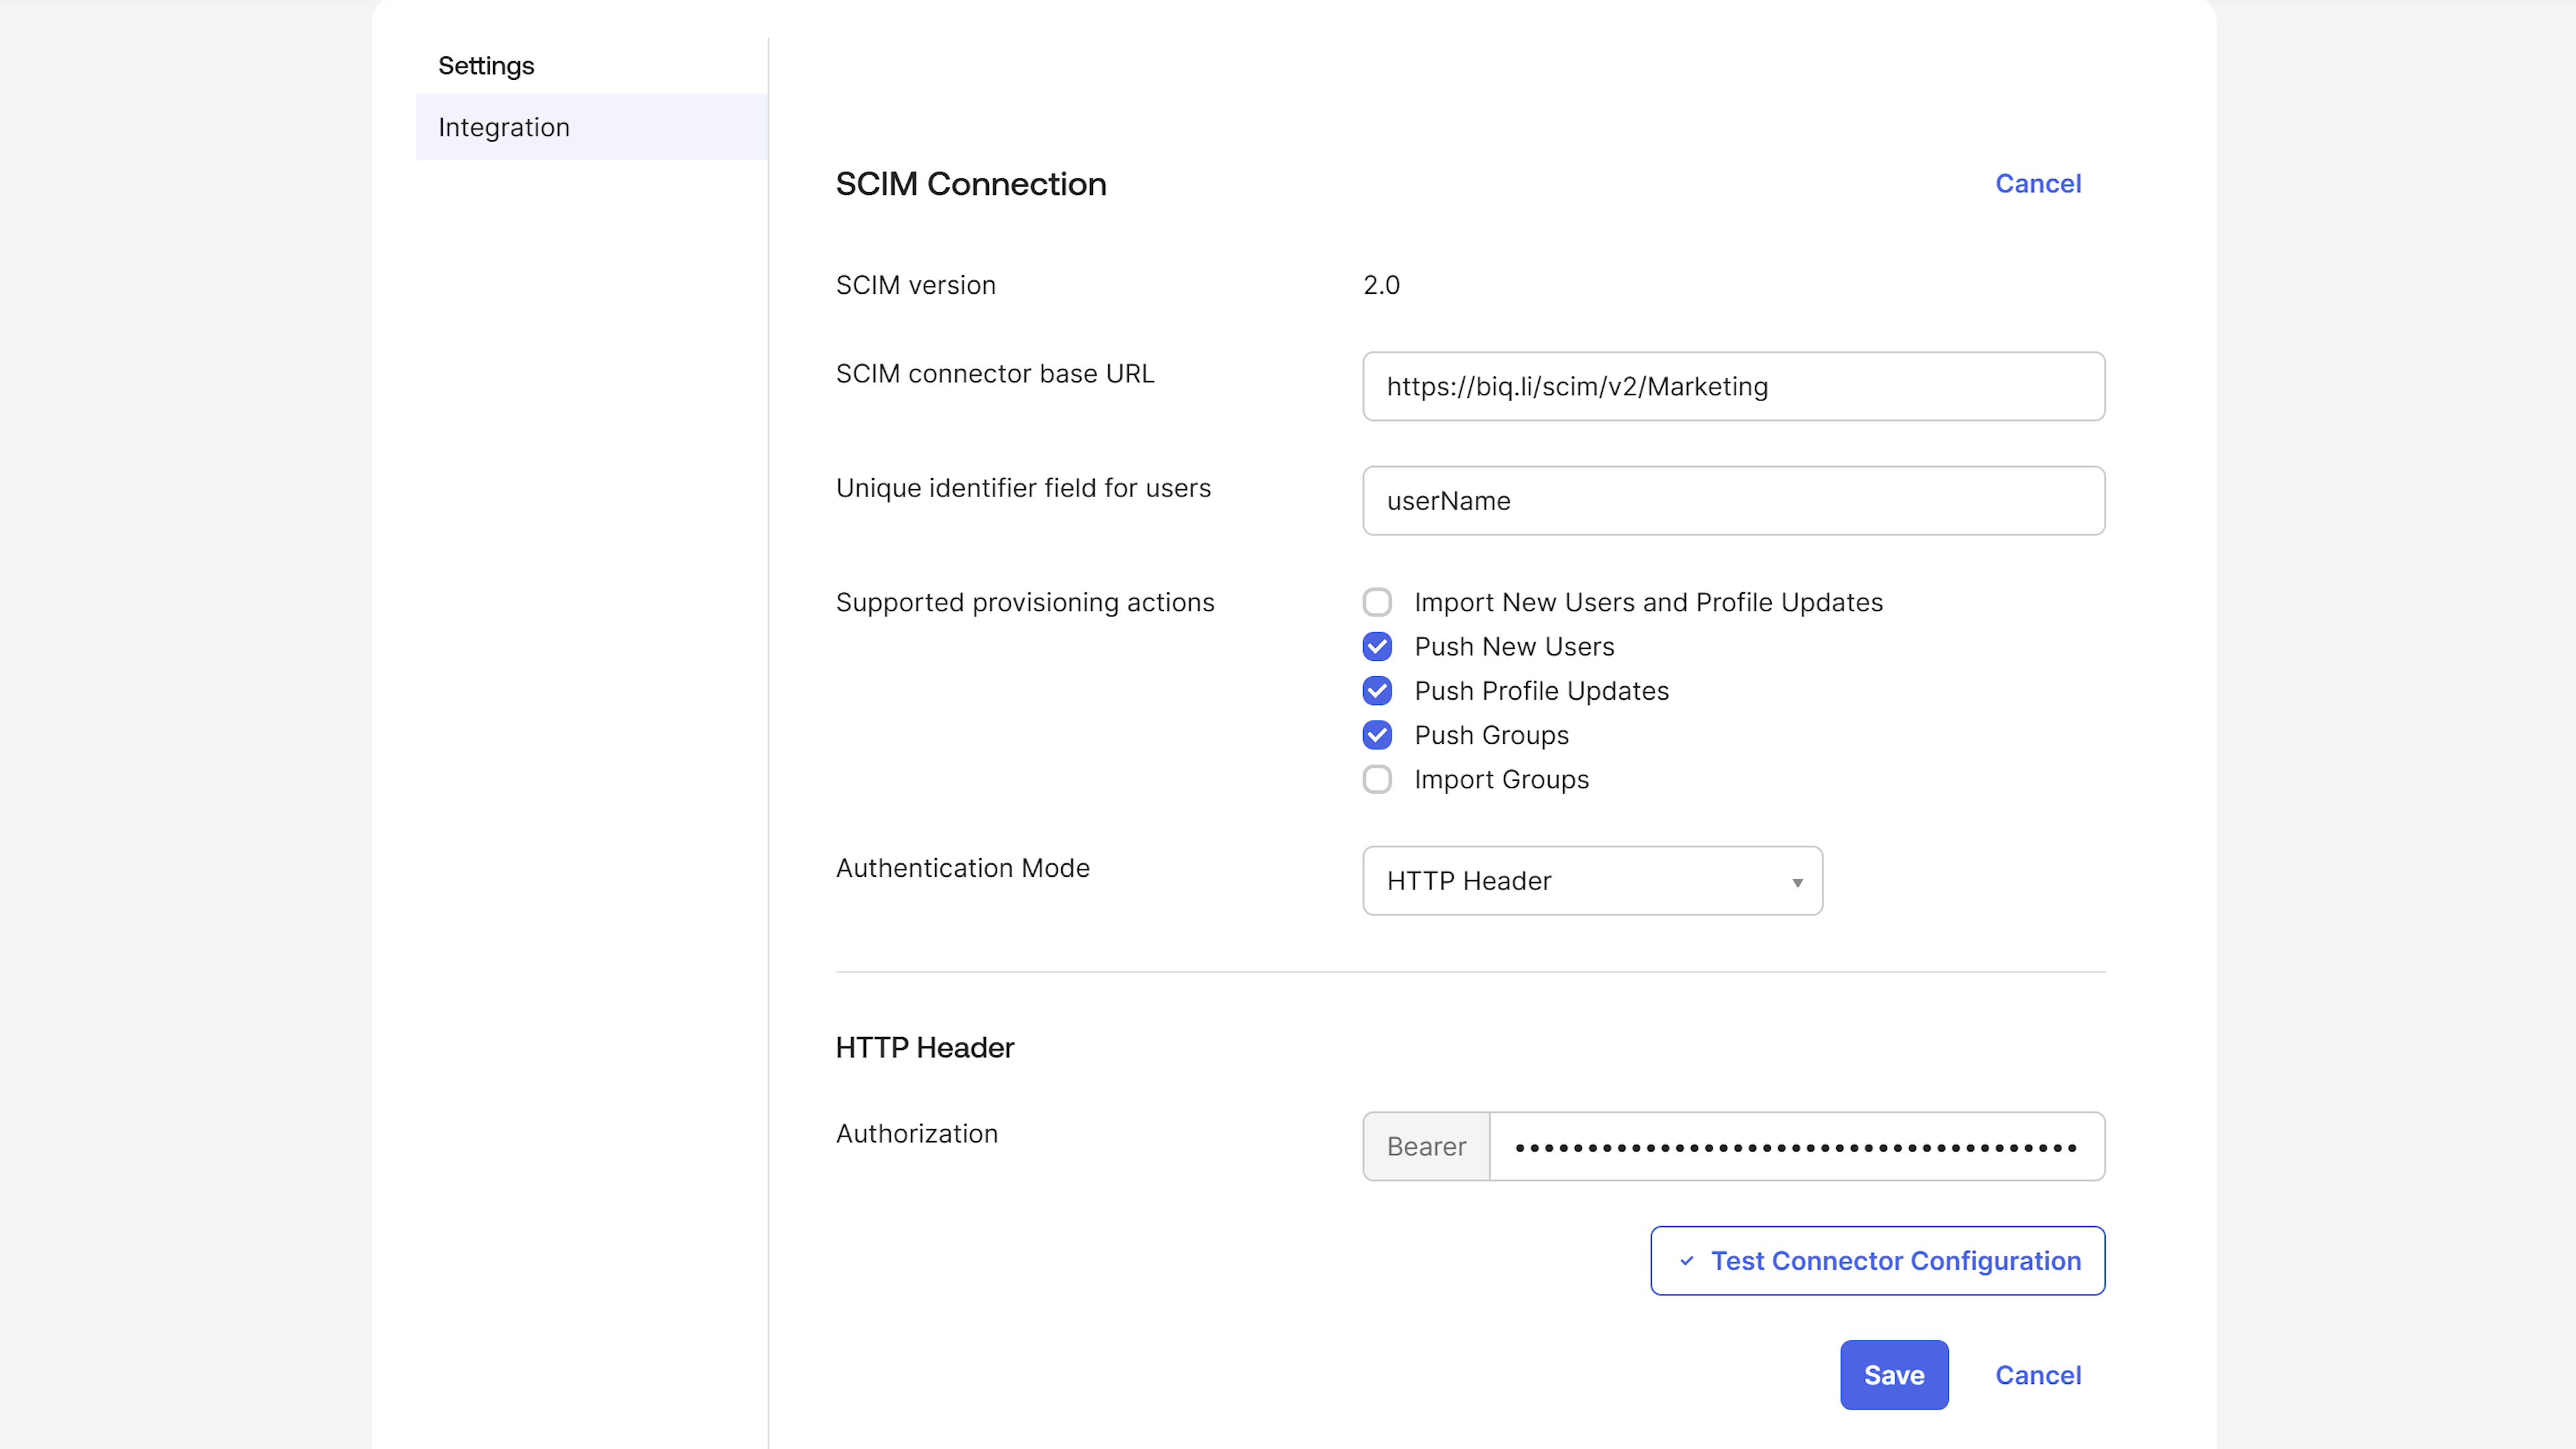
- SCIM connector base URL: Paste the SCIM 2.0 Base URL value you obtained in Step 1.
- Unique identifier field for users: Enter
userName. You can copy this value below:Unique Identifier - Supported provisioning actions: Select the following checkboxes:
- Push New Users
- Push Profile Updates
- Push Groups
- Authentication Mode: Select HTTP Header.
- Authorization (Bearer Token): Paste the OAuth Bearer Token value you obtained in Step 1 into the field.
Step 3: Configure Provisioning Actions
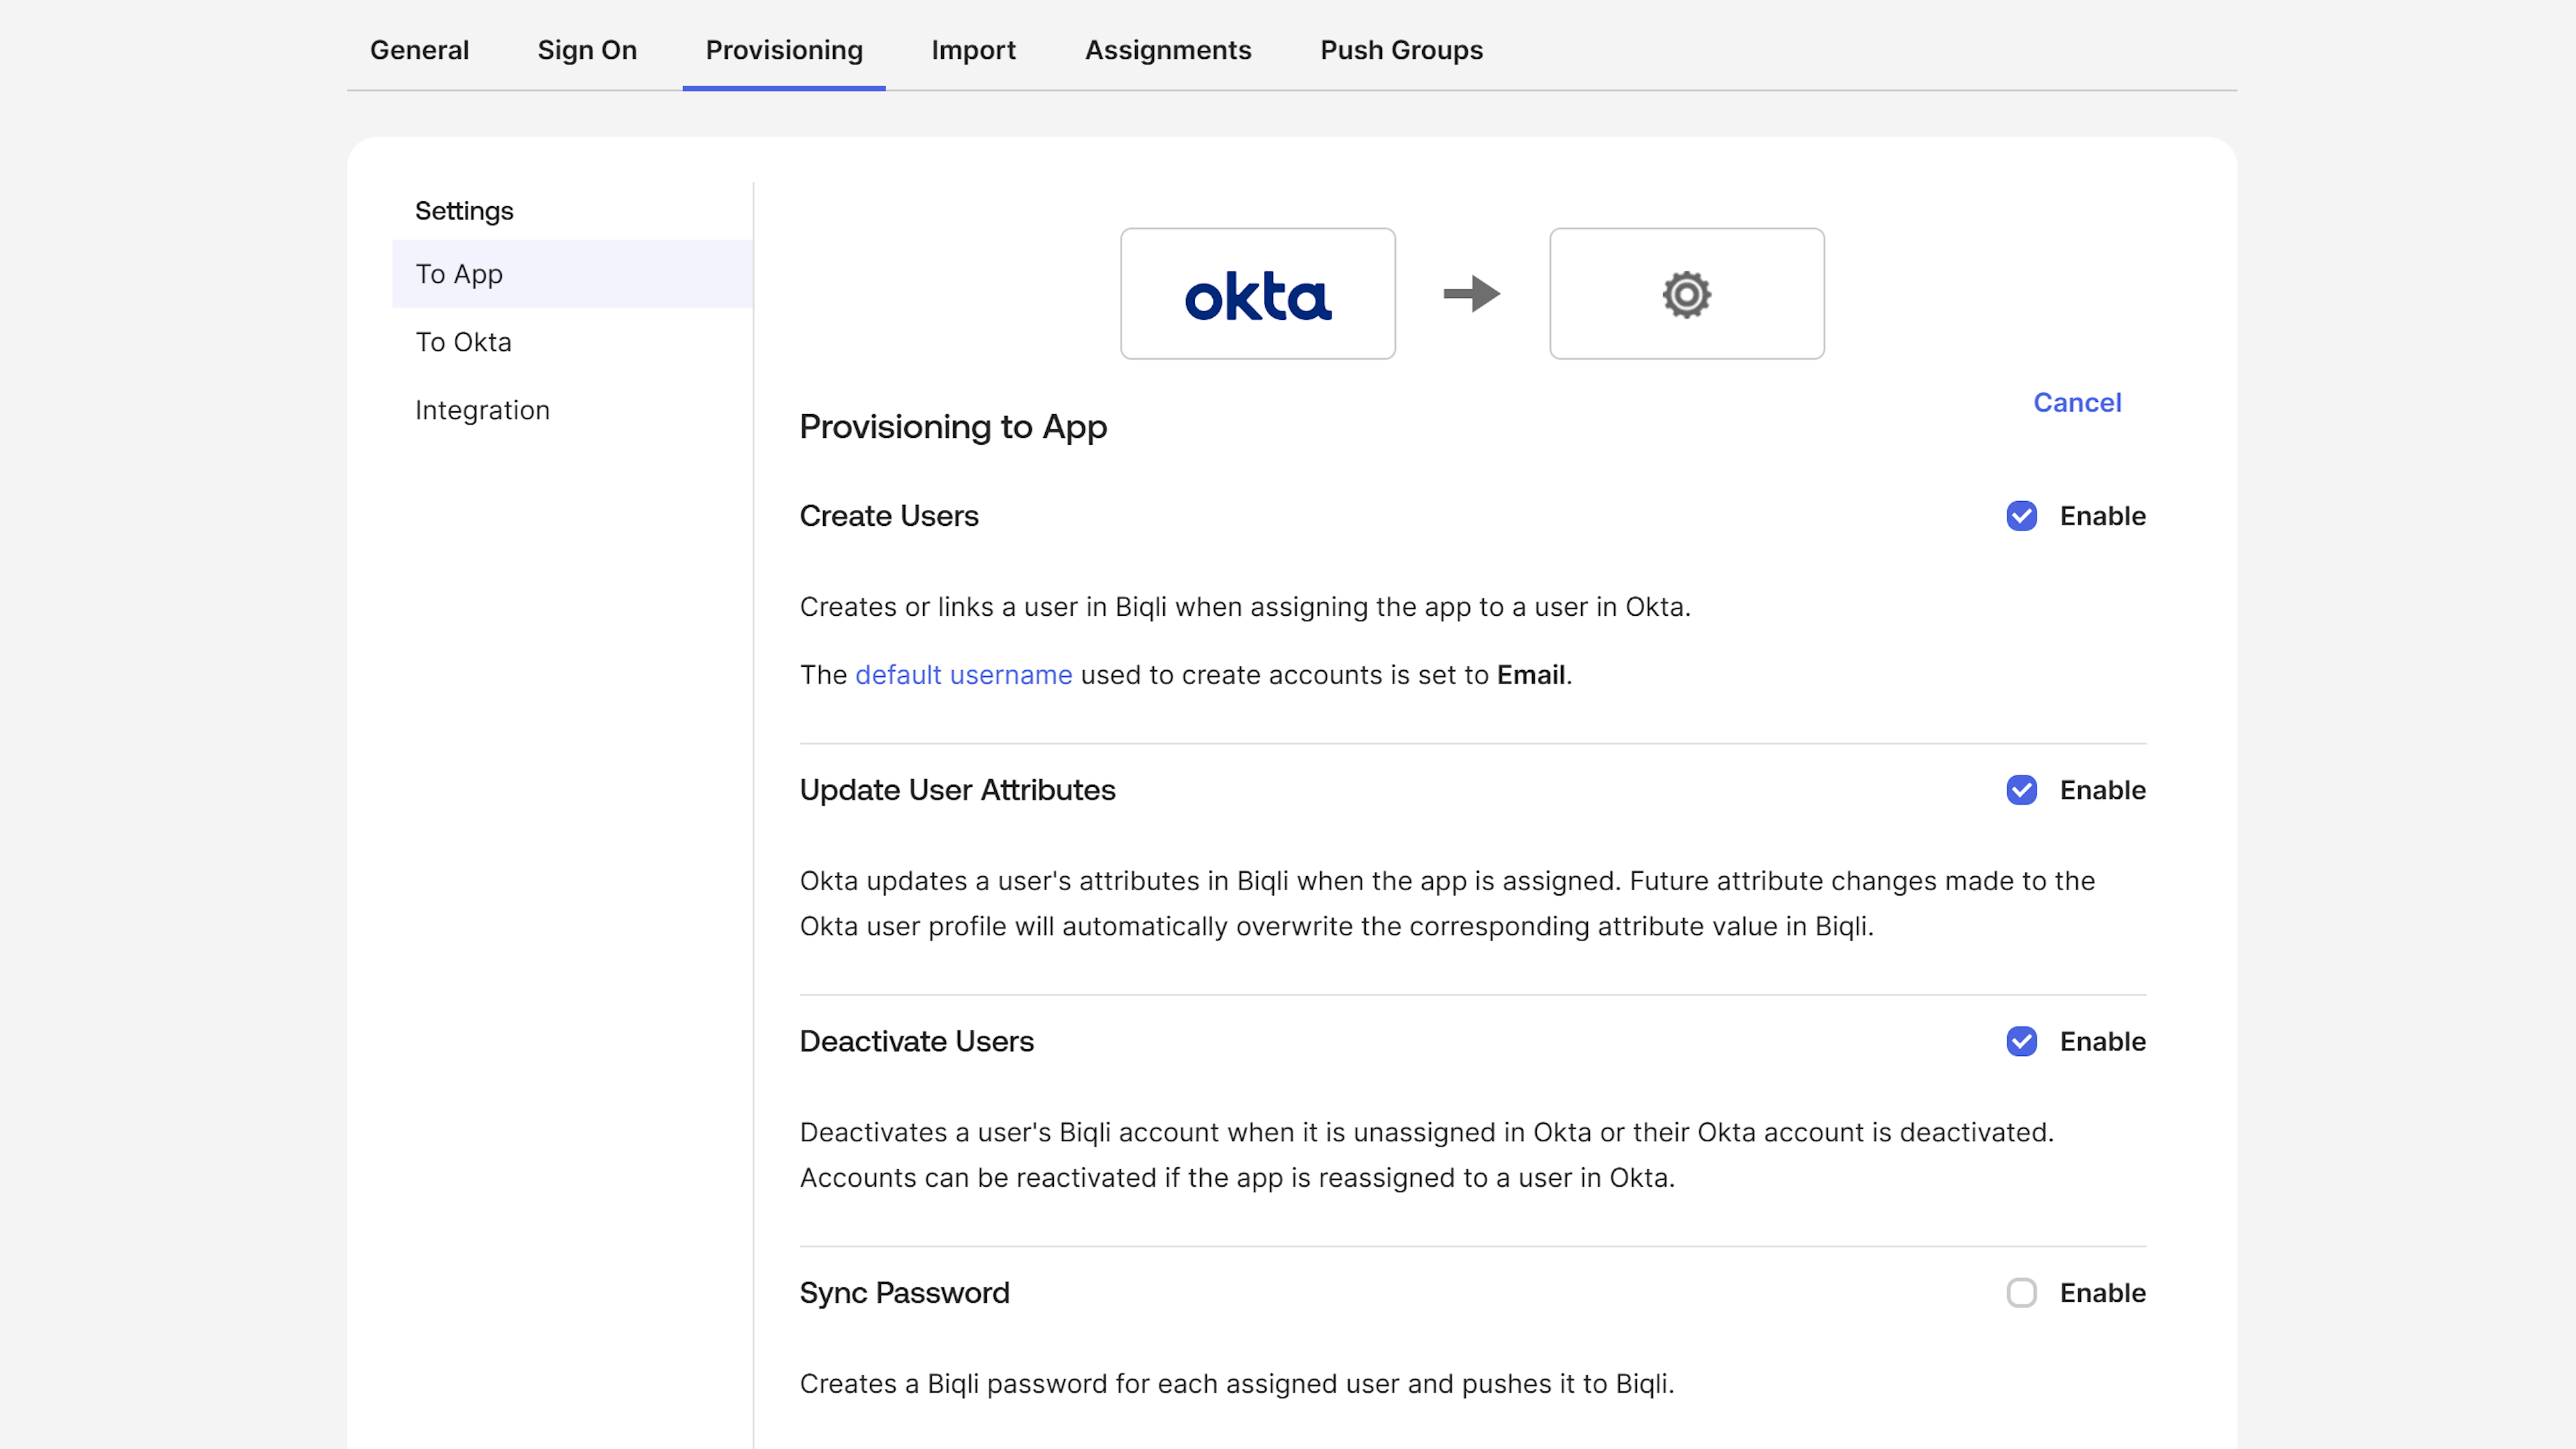
Under the To App section in the left sidebar of the Provisioning tab, click Edit. Configure the following options and click Save:- Create Users (Select Enable)
- Update User Attributes (Select Enable)
- Deactivate Users (Select Enable)
Step 4: Assign Users
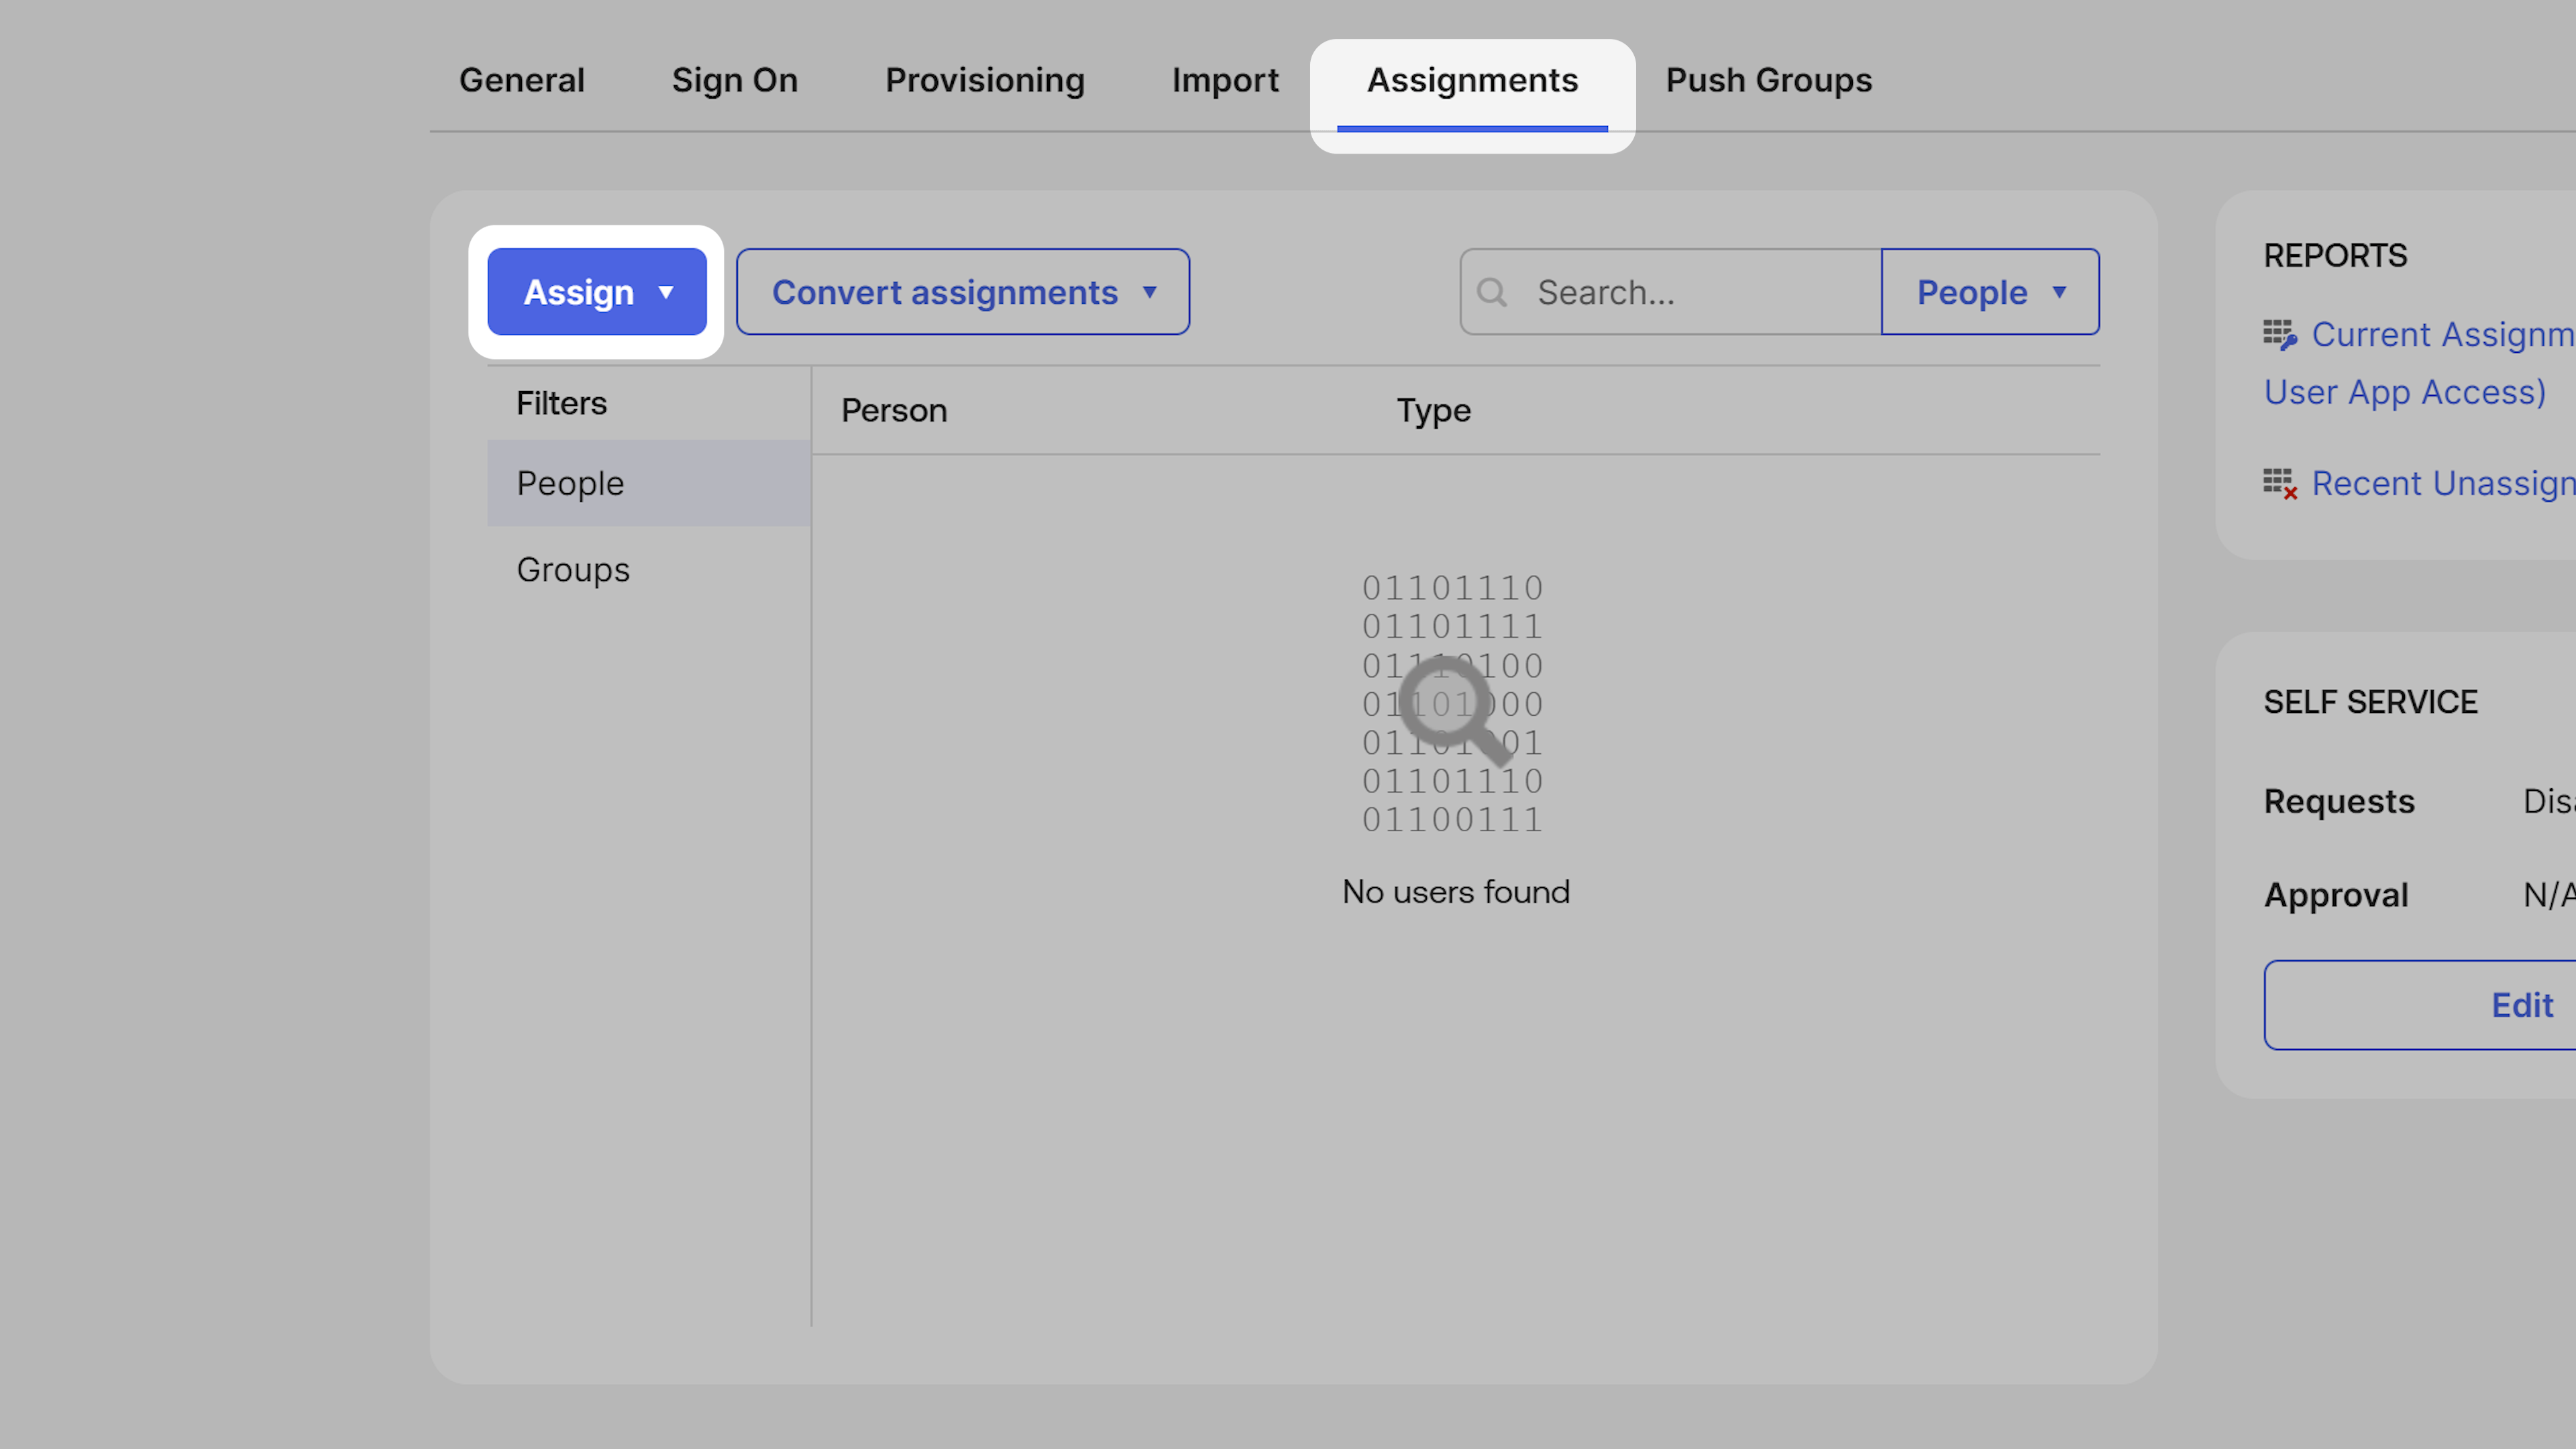
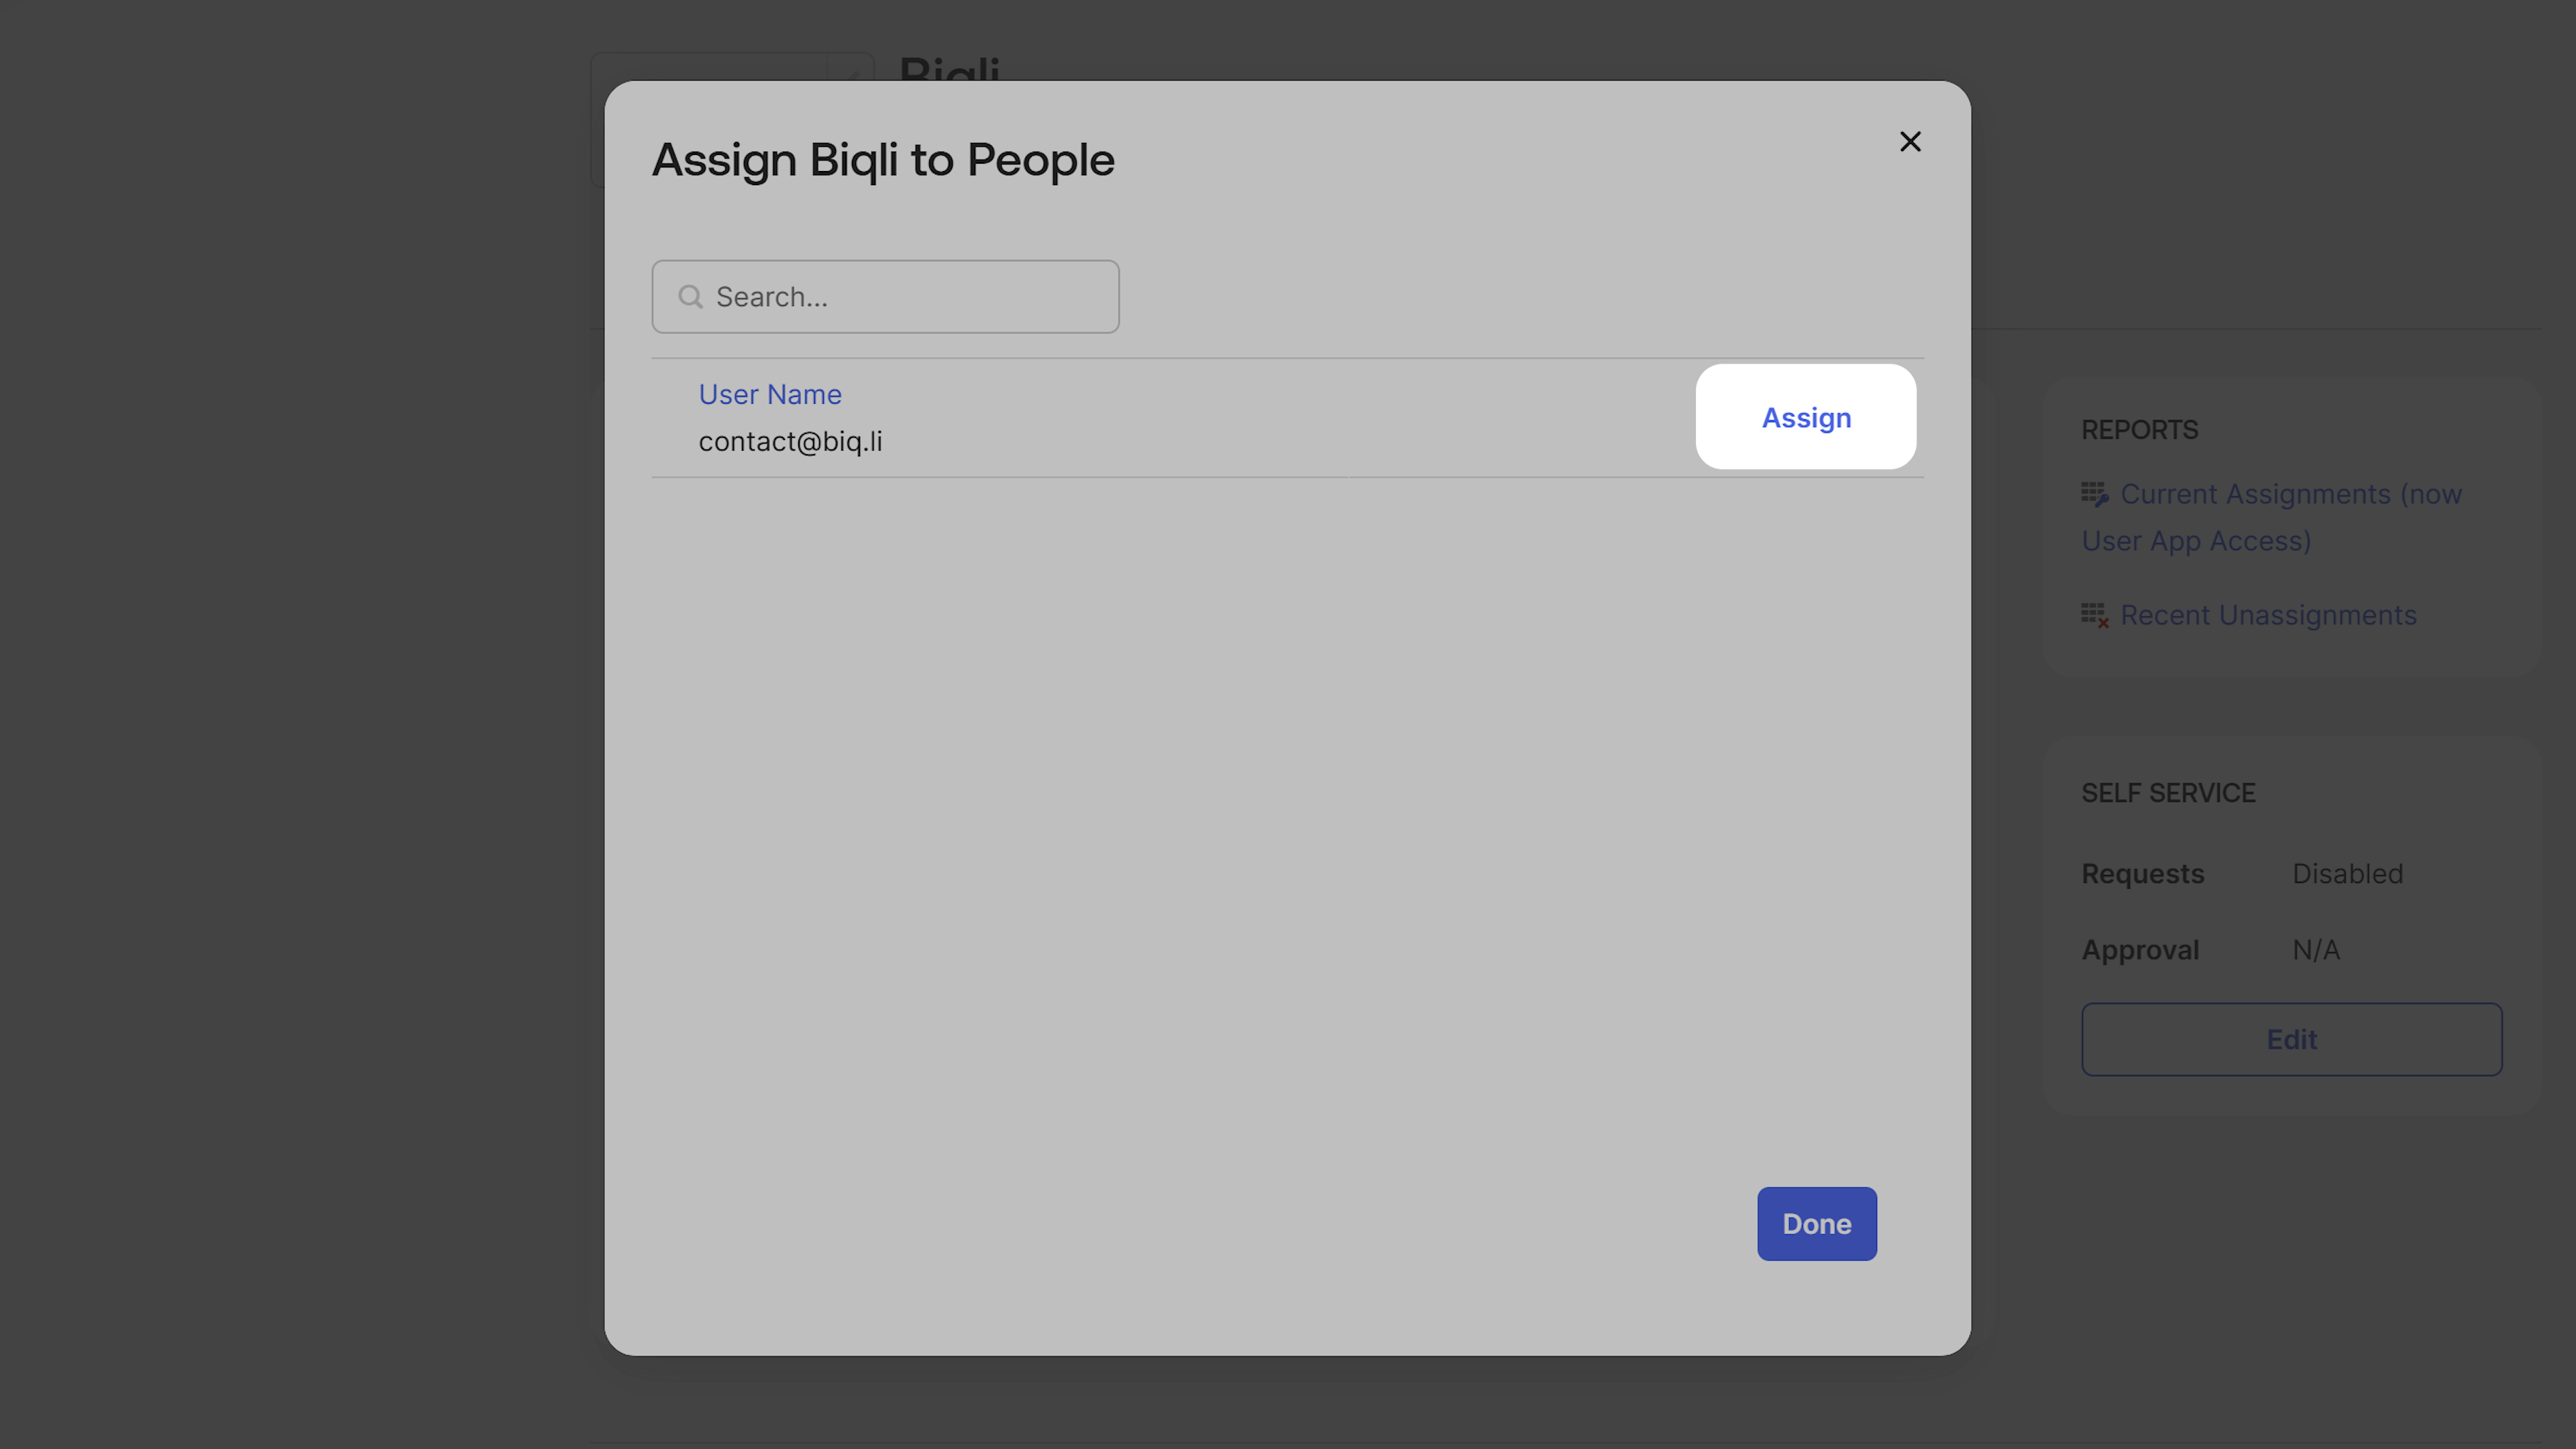
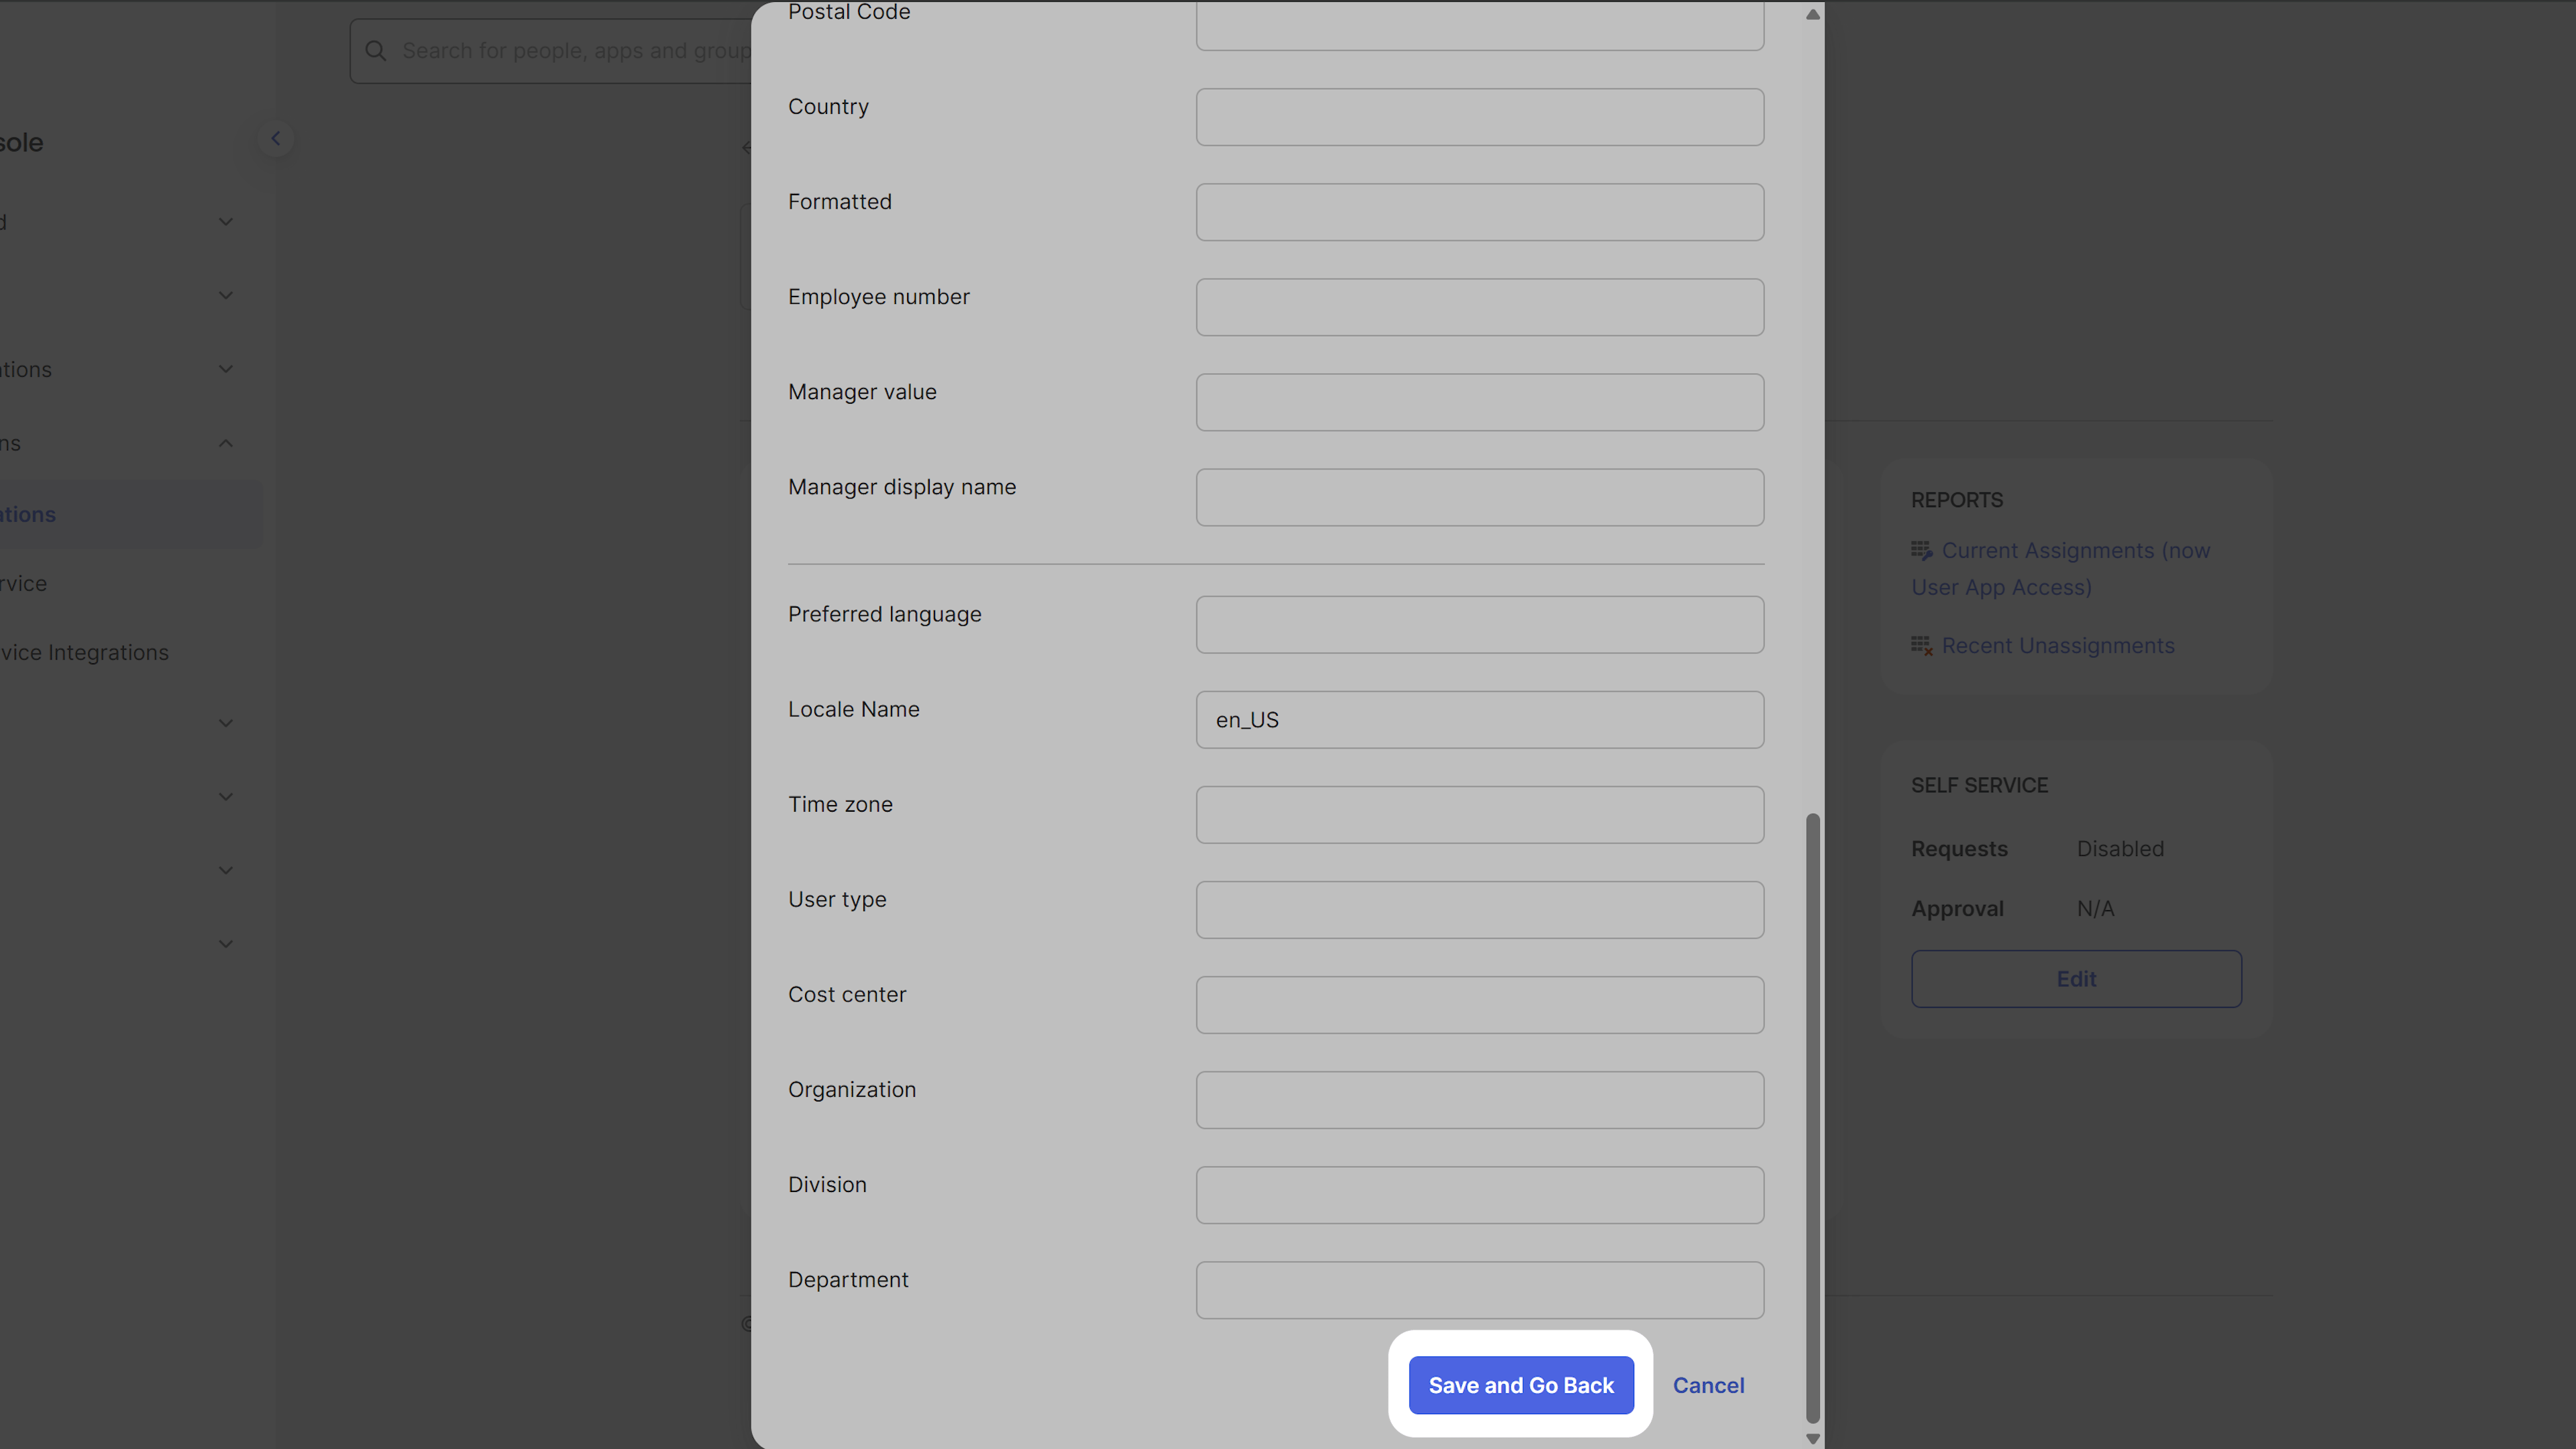
Once you’ve configured Directory Sync, you can assign users to Biqli directly within Okta. When a user is assigned to the application in Okta, their account will be automatically created in Biqli and attached to your workspace. Click on the Assignments tab, and click Assign. You can choose to assign users individually, or assign them in bulk by group.