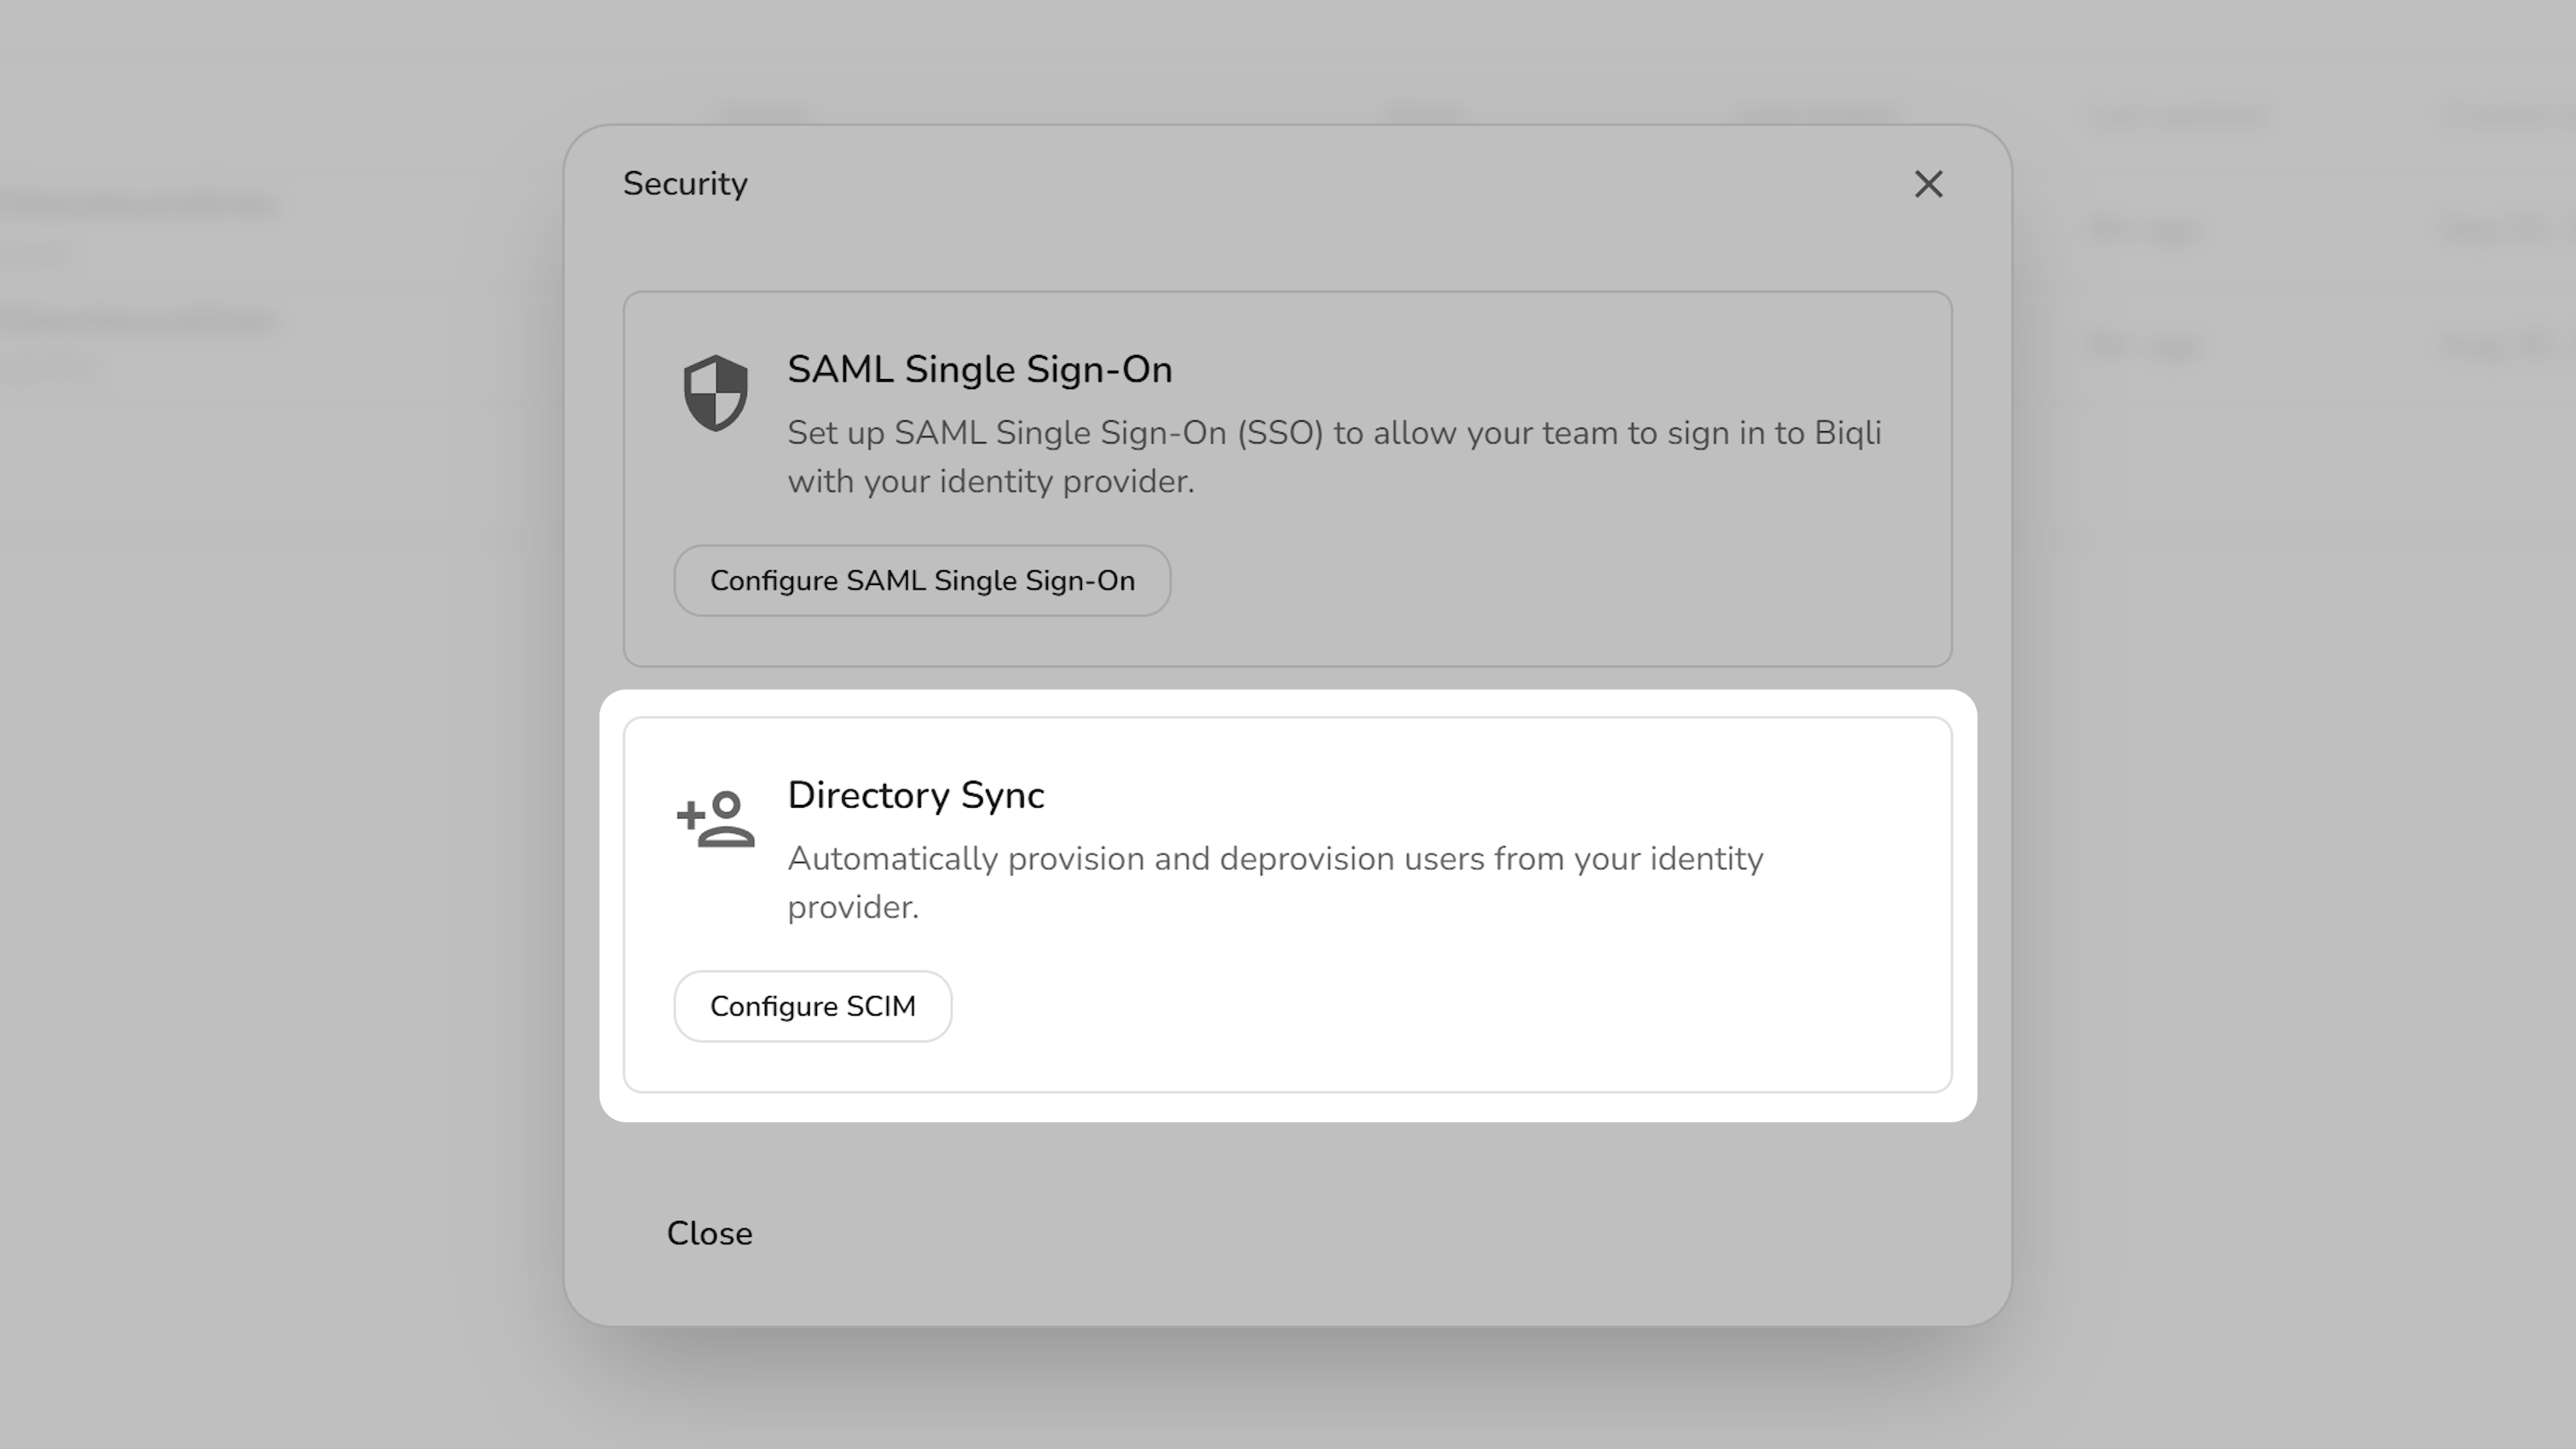
Open the Provisioning tab of your existing Biqli Azure AD SAML application in the Azure Portal. Click Connect your application (or Get started).
Under the Admin Credentials section, enter the values you obtained in Step 1:
Tenant URL: Paste the Tenant URL.
Secret Token: Paste the Secret Token.
Click Test Connection to validate the credentials, then click Save (or Create) to store the configuration.From the left sidebar, select Provisioning, expand the Mappings section, and click on Provision Microsoft Entra ID Users.
Scroll down to the externalId attribute mapping row and click Edit.
Change the Source attribute dropdown value to objectId, then click OK.
Click Save in the top menu to store the attribute mapping configuration, then close the mapping details pane using the X in the top-right corner.
Expand the Settings section on the provisioning configuration page:
Set the Scope dropdown to Sync only assigned users and groups.
Verify that the Provisioning Status toggle is set to On.
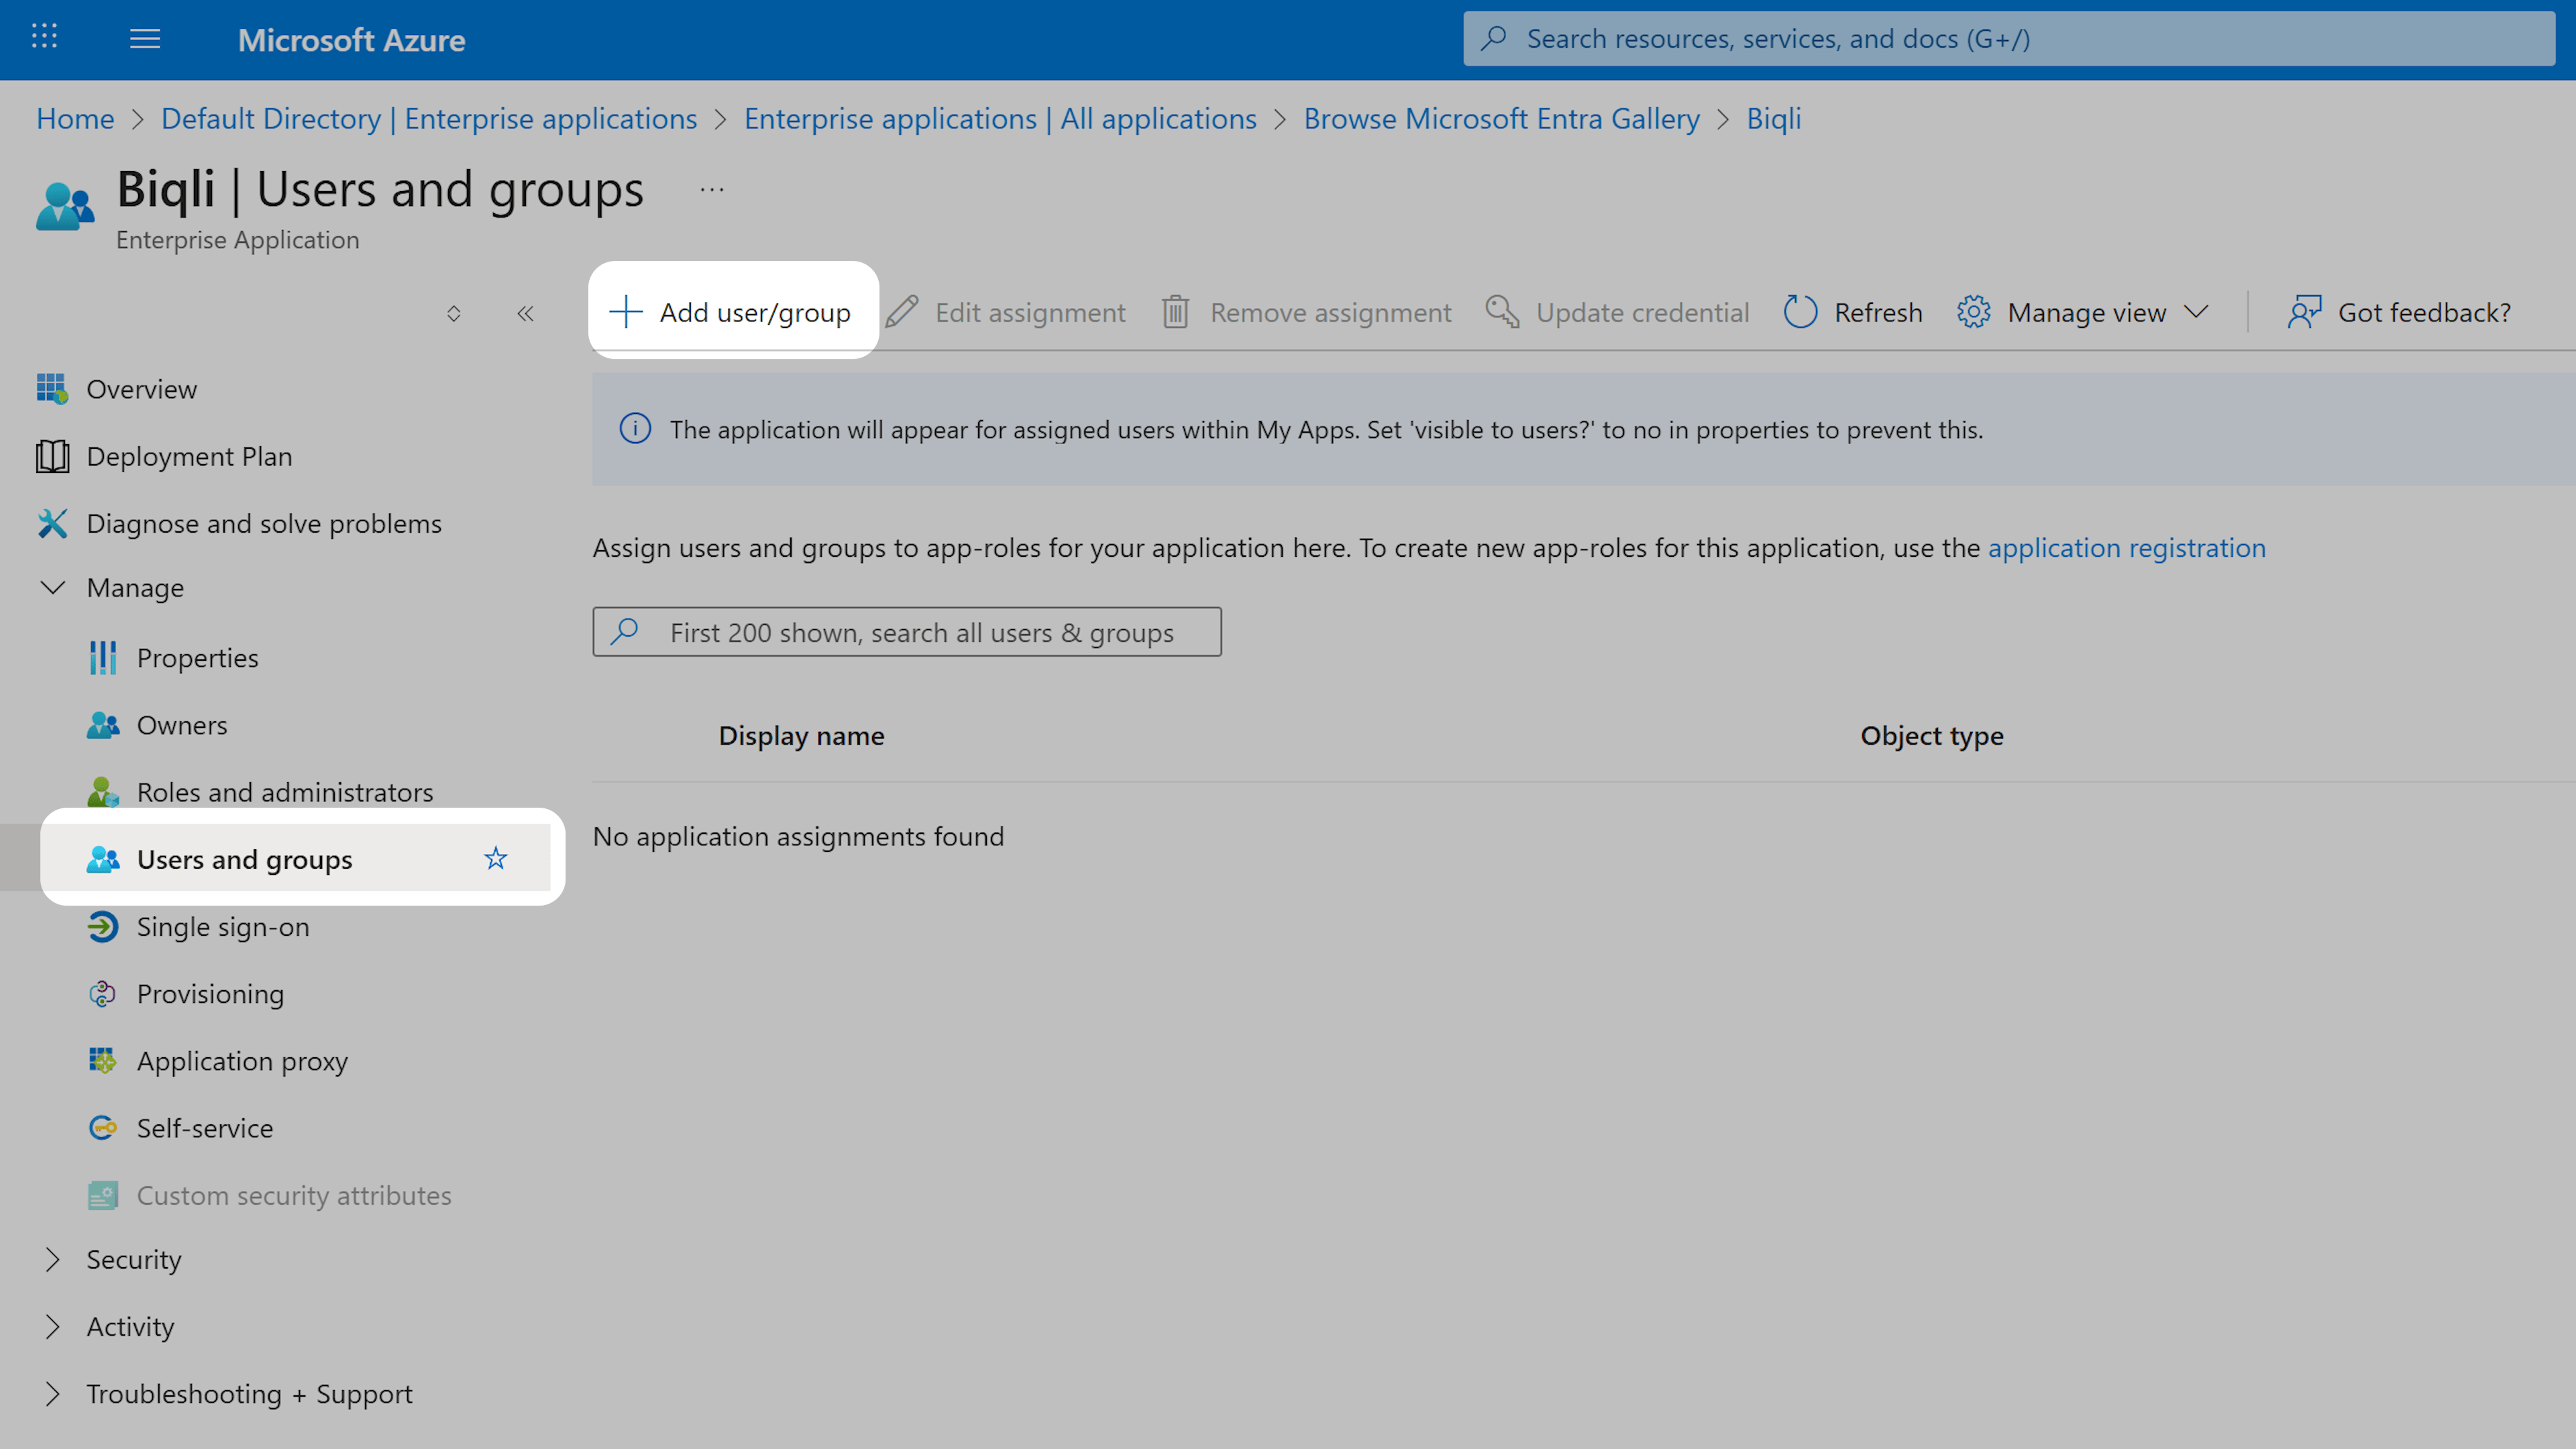
Once SCIM Directory Sync is configured, you can assign users to Biqli directly within Azure AD, and they will be automatically provisioned.Go to Users and groups in the left menu, and click Add user/group.
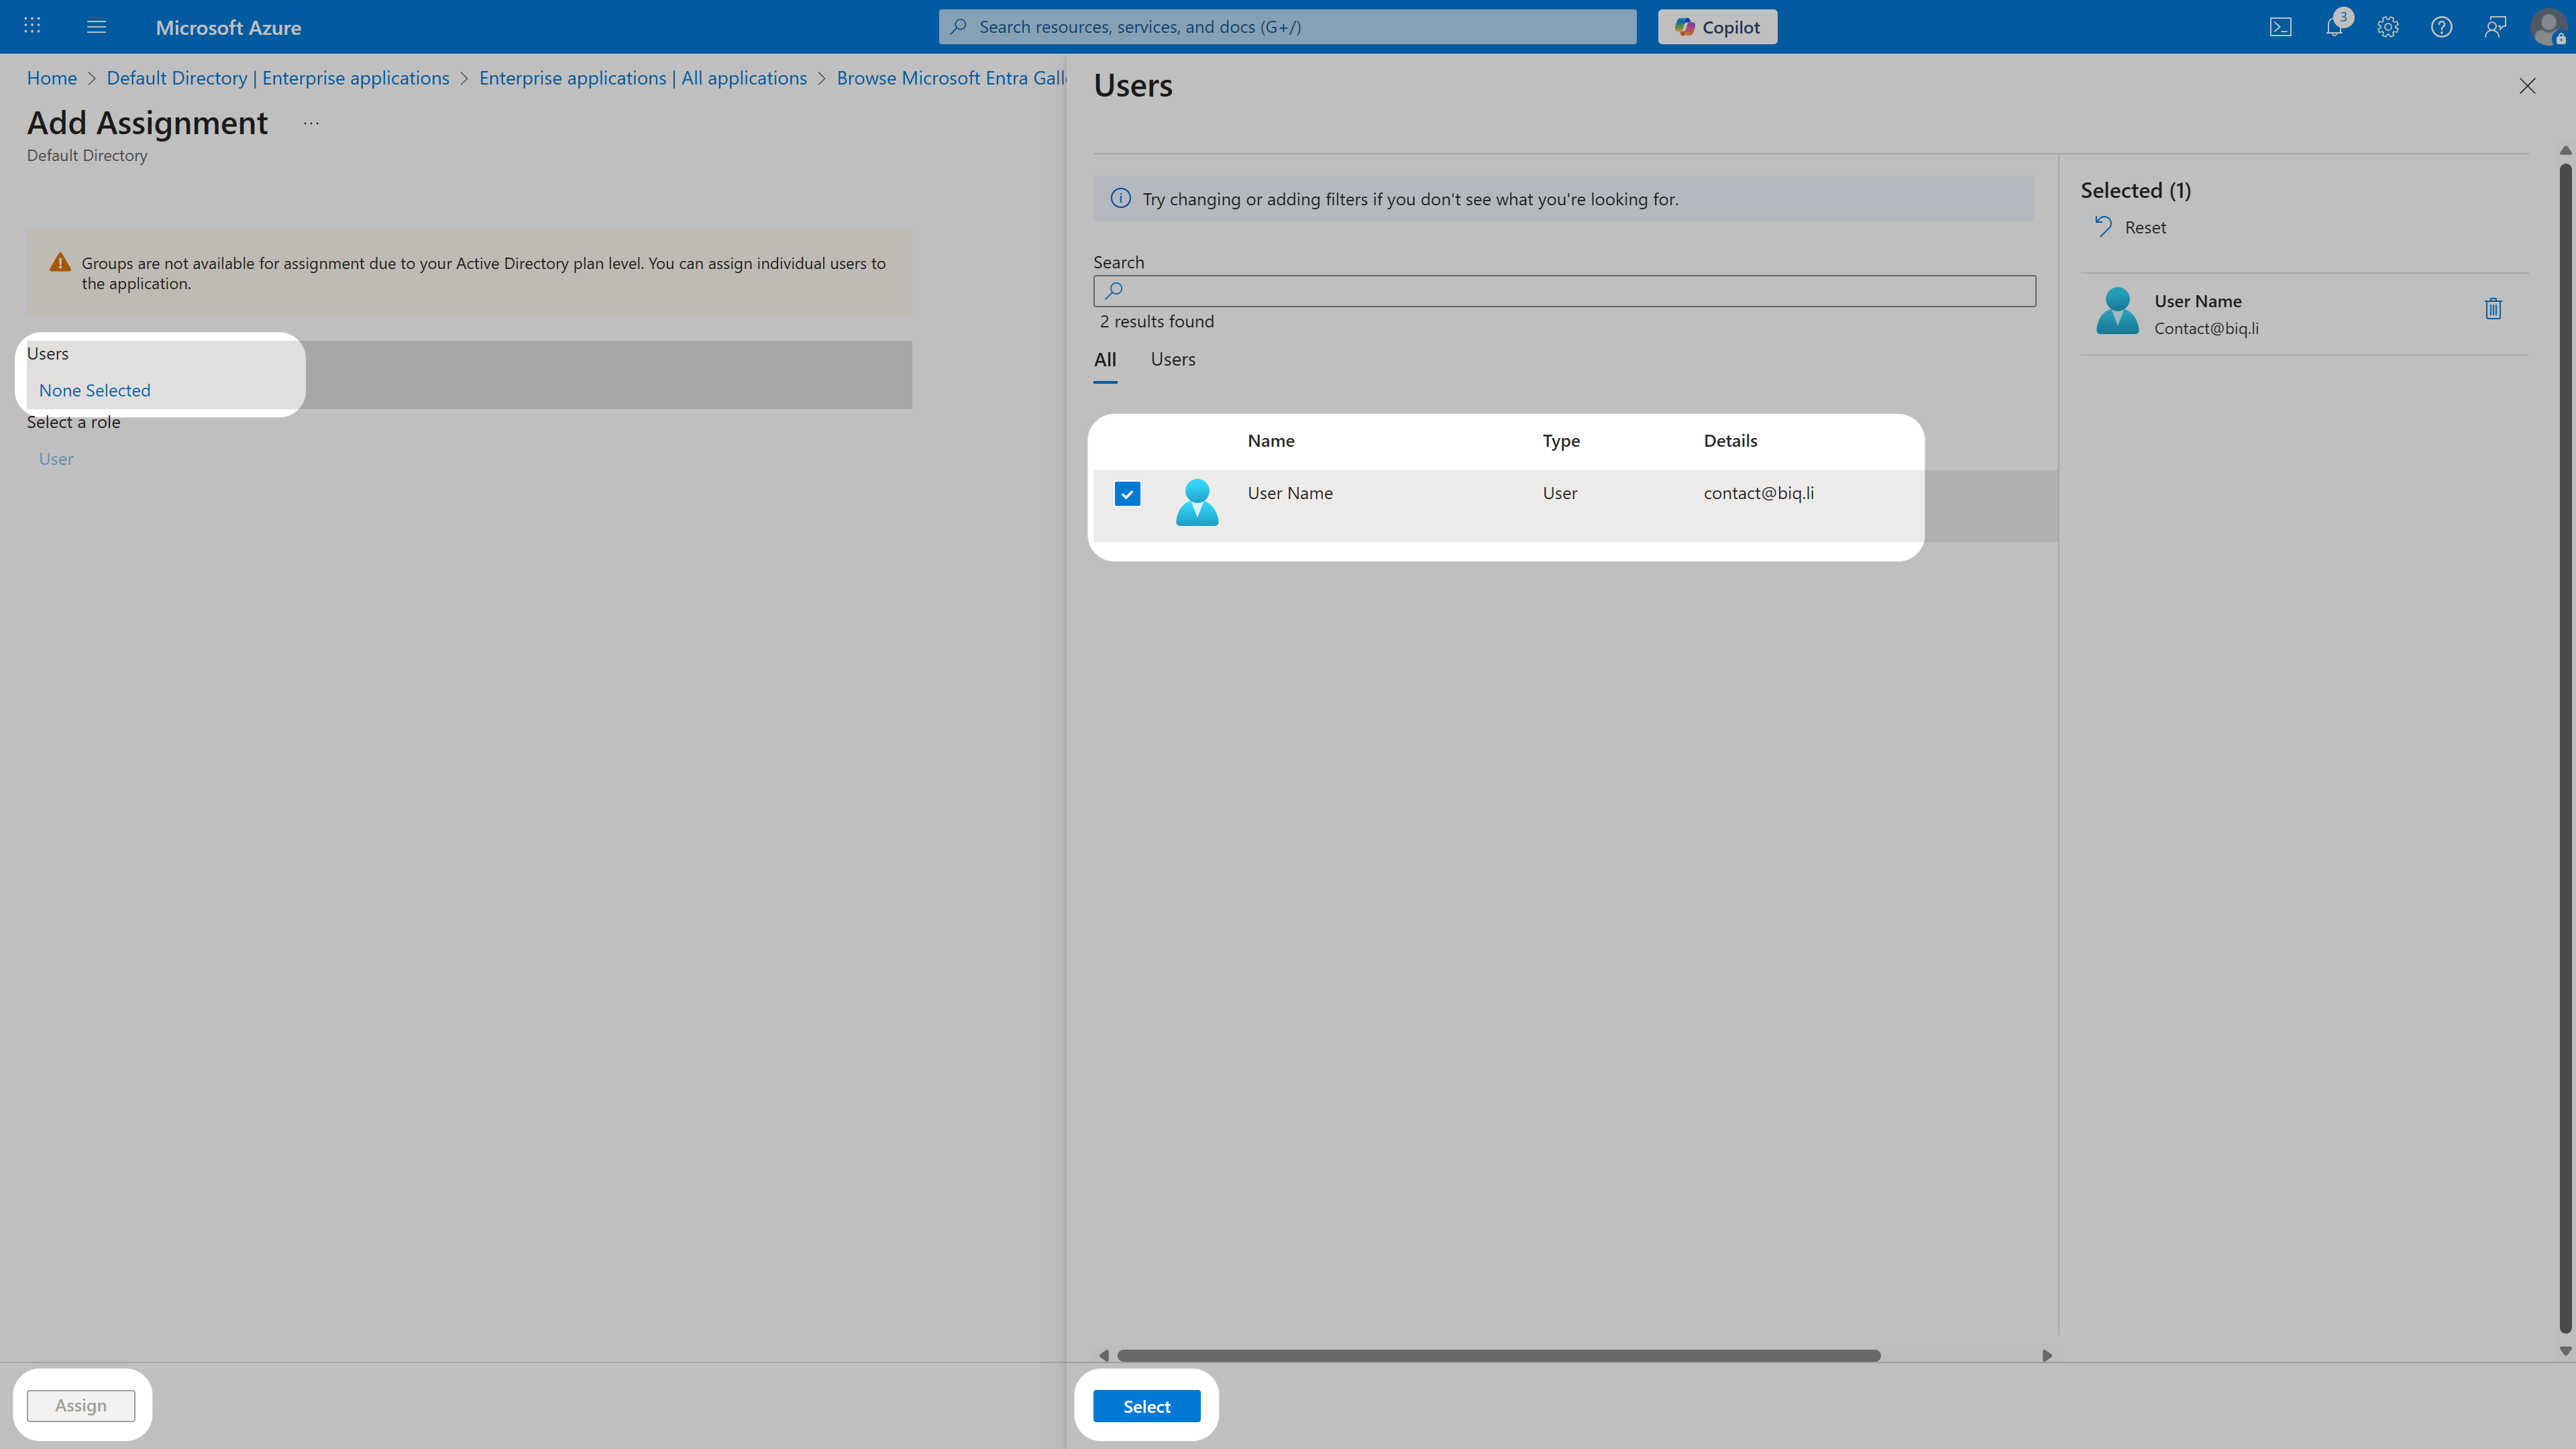
Click None Selected under Users, select your users, click Select, and click Assign to confirm.
Your assigned users will now have their accounts automatically created in Biqli, attached to the workspace, and enabled to sign in.
Sync Latency: Azure AD SCIM provisioning runs on a background schedule and can take between 20 to 40 minutes to synchronize. If you need users to be added immediately, you can use Azure’s Provision on Demand option to trigger instant syncing for selected users.