> ## Documentation Index
> Fetch the complete documentation index at: https://learn.biq.li/llms.txt
> Use this file to discover all available pages before exploring further.
# Configuring SCIM Directory Sync with Azure AD
> Automatically provision and deprovision users from Azure AD to Biqli using SCIM.
**Enterprise Plan Feature**: SCIM Directory Sync is available exclusively for workspaces on the **Enterprise plan**.
For Biqli Enterprise users, you can automatically provision and deprovision users from Azure AD (Entra ID) to Biqli using SCIM Directory Sync.
## Prerequisites
Before configuring SCIM Directory Sync, you must first create and configure a SAML application in Azure AD.
Follow our guide to configure Azure AD SAML Single Sign-On for your Biqli Workspace.
## Step 1: Configure Directory Sync on Biqli
Navigate to your workspace **Security Settings**. Under the **Directory Sync** section, click **Configure SCIM** to start setting up SCIM provisioning.
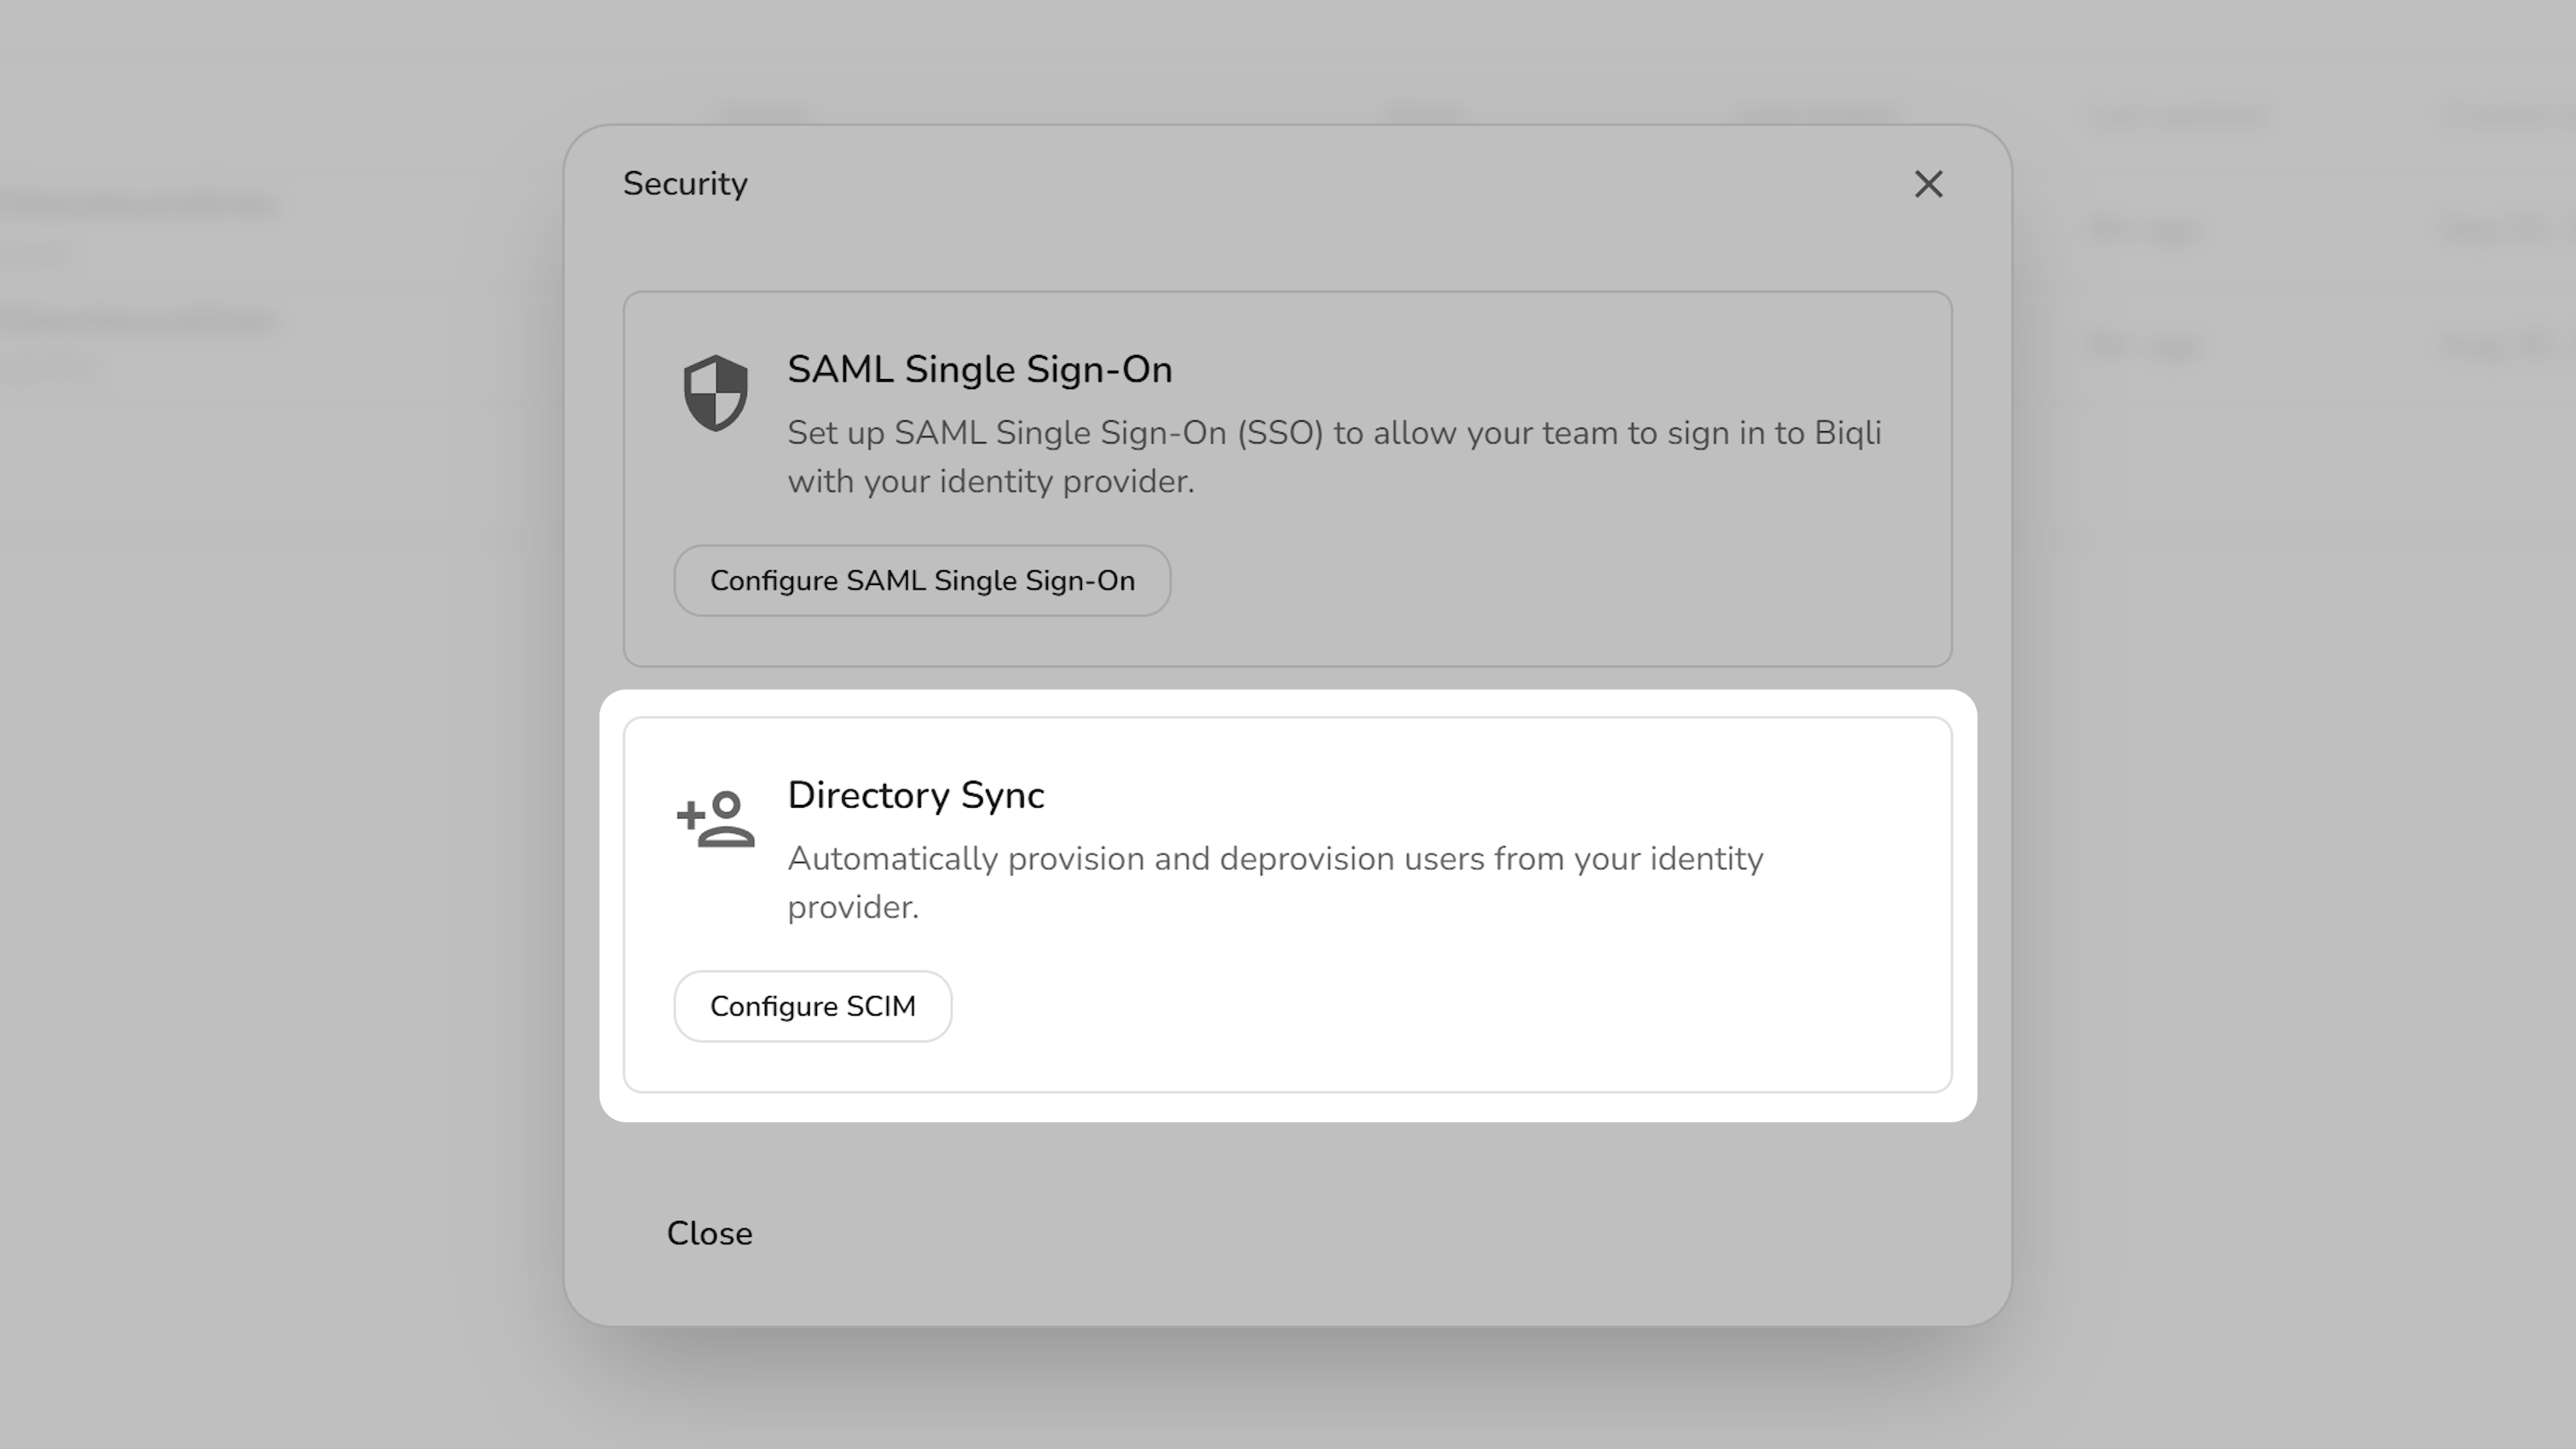 In the SCIM configuration modal:
1. **Select Identity Provider**: Choose **Microsoft Entra ID** as your directory provider.
2. **Enable SCIM**: Toggle on SCIM directory synchronization.
3. Click **Save changes**.
In the SCIM configuration modal:
1. **Select Identity Provider**: Choose **Microsoft Entra ID** as your directory provider.
2. **Enable SCIM**: Toggle on SCIM directory synchronization.
3. Click **Save changes**.
 This will generate a Directory Sync connection for your Biqli workspace and return **2 values** which you will need in Step 2:
* **Tenant URL**
* **Secret Token**
This will generate a Directory Sync connection for your Biqli workspace and return **2 values** which you will need in Step 2:
* **Tenant URL**
* **Secret Token**
 ## Step 2: Add Provisioning to SAML Application
Open the **Provisioning** tab of your existing Biqli Azure AD SAML application in the Azure Portal. Click **Connect your application** (or **Get started**).
## Step 2: Add Provisioning to SAML Application
Open the **Provisioning** tab of your existing Biqli Azure AD SAML application in the Azure Portal. Click **Connect your application** (or **Get started**).
 Under the **Admin Credentials** section, enter the values you obtained in Step 1:
1. **Tenant URL**: Paste the Tenant URL.
2. **Secret Token**: Paste the Secret Token.
Under the **Admin Credentials** section, enter the values you obtained in Step 1:
1. **Tenant URL**: Paste the Tenant URL.
2. **Secret Token**: Paste the Secret Token.
 Click **Test Connection** to validate the credentials, then click **Save** (or **Create**) to store the configuration.
From the left sidebar, select **Provisioning**, expand the **Mappings** section, and click on **Provision Microsoft Entra ID Users**.
Click **Test Connection** to validate the credentials, then click **Save** (or **Create**) to store the configuration.
From the left sidebar, select **Provisioning**, expand the **Mappings** section, and click on **Provision Microsoft Entra ID Users**.
 Scroll down to the **externalId** attribute mapping row and click **Edit**.
 Change the **Source attribute** dropdown value to **objectId**, then click **OK**.
 Click **Save** in the top menu to store the attribute mapping configuration, then close the mapping details pane using the **X** in the top-right corner.
 Expand the **Settings** section on the provisioning configuration page:
* Set the **Scope** dropdown to **Sync only assigned users and groups**.
* Verify that the **Provisioning Status** toggle is set to **On**.
Click **Save** at the top of the settings page.
Expand the **Settings** section on the provisioning configuration page:
* Set the **Scope** dropdown to **Sync only assigned users and groups**.
* Verify that the **Provisioning Status** toggle is set to **On**.
Click **Save** at the top of the settings page.
 ## Step 3: Assign Users
Once SCIM Directory Sync is configured, you can assign users to Biqli directly within Azure AD, and they will be automatically provisioned.
Go to **Users and groups** in the left menu, and click **Add user/group**.
## Step 3: Assign Users
Once SCIM Directory Sync is configured, you can assign users to Biqli directly within Azure AD, and they will be automatically provisioned.
Go to **Users and groups** in the left menu, and click **Add user/group**.
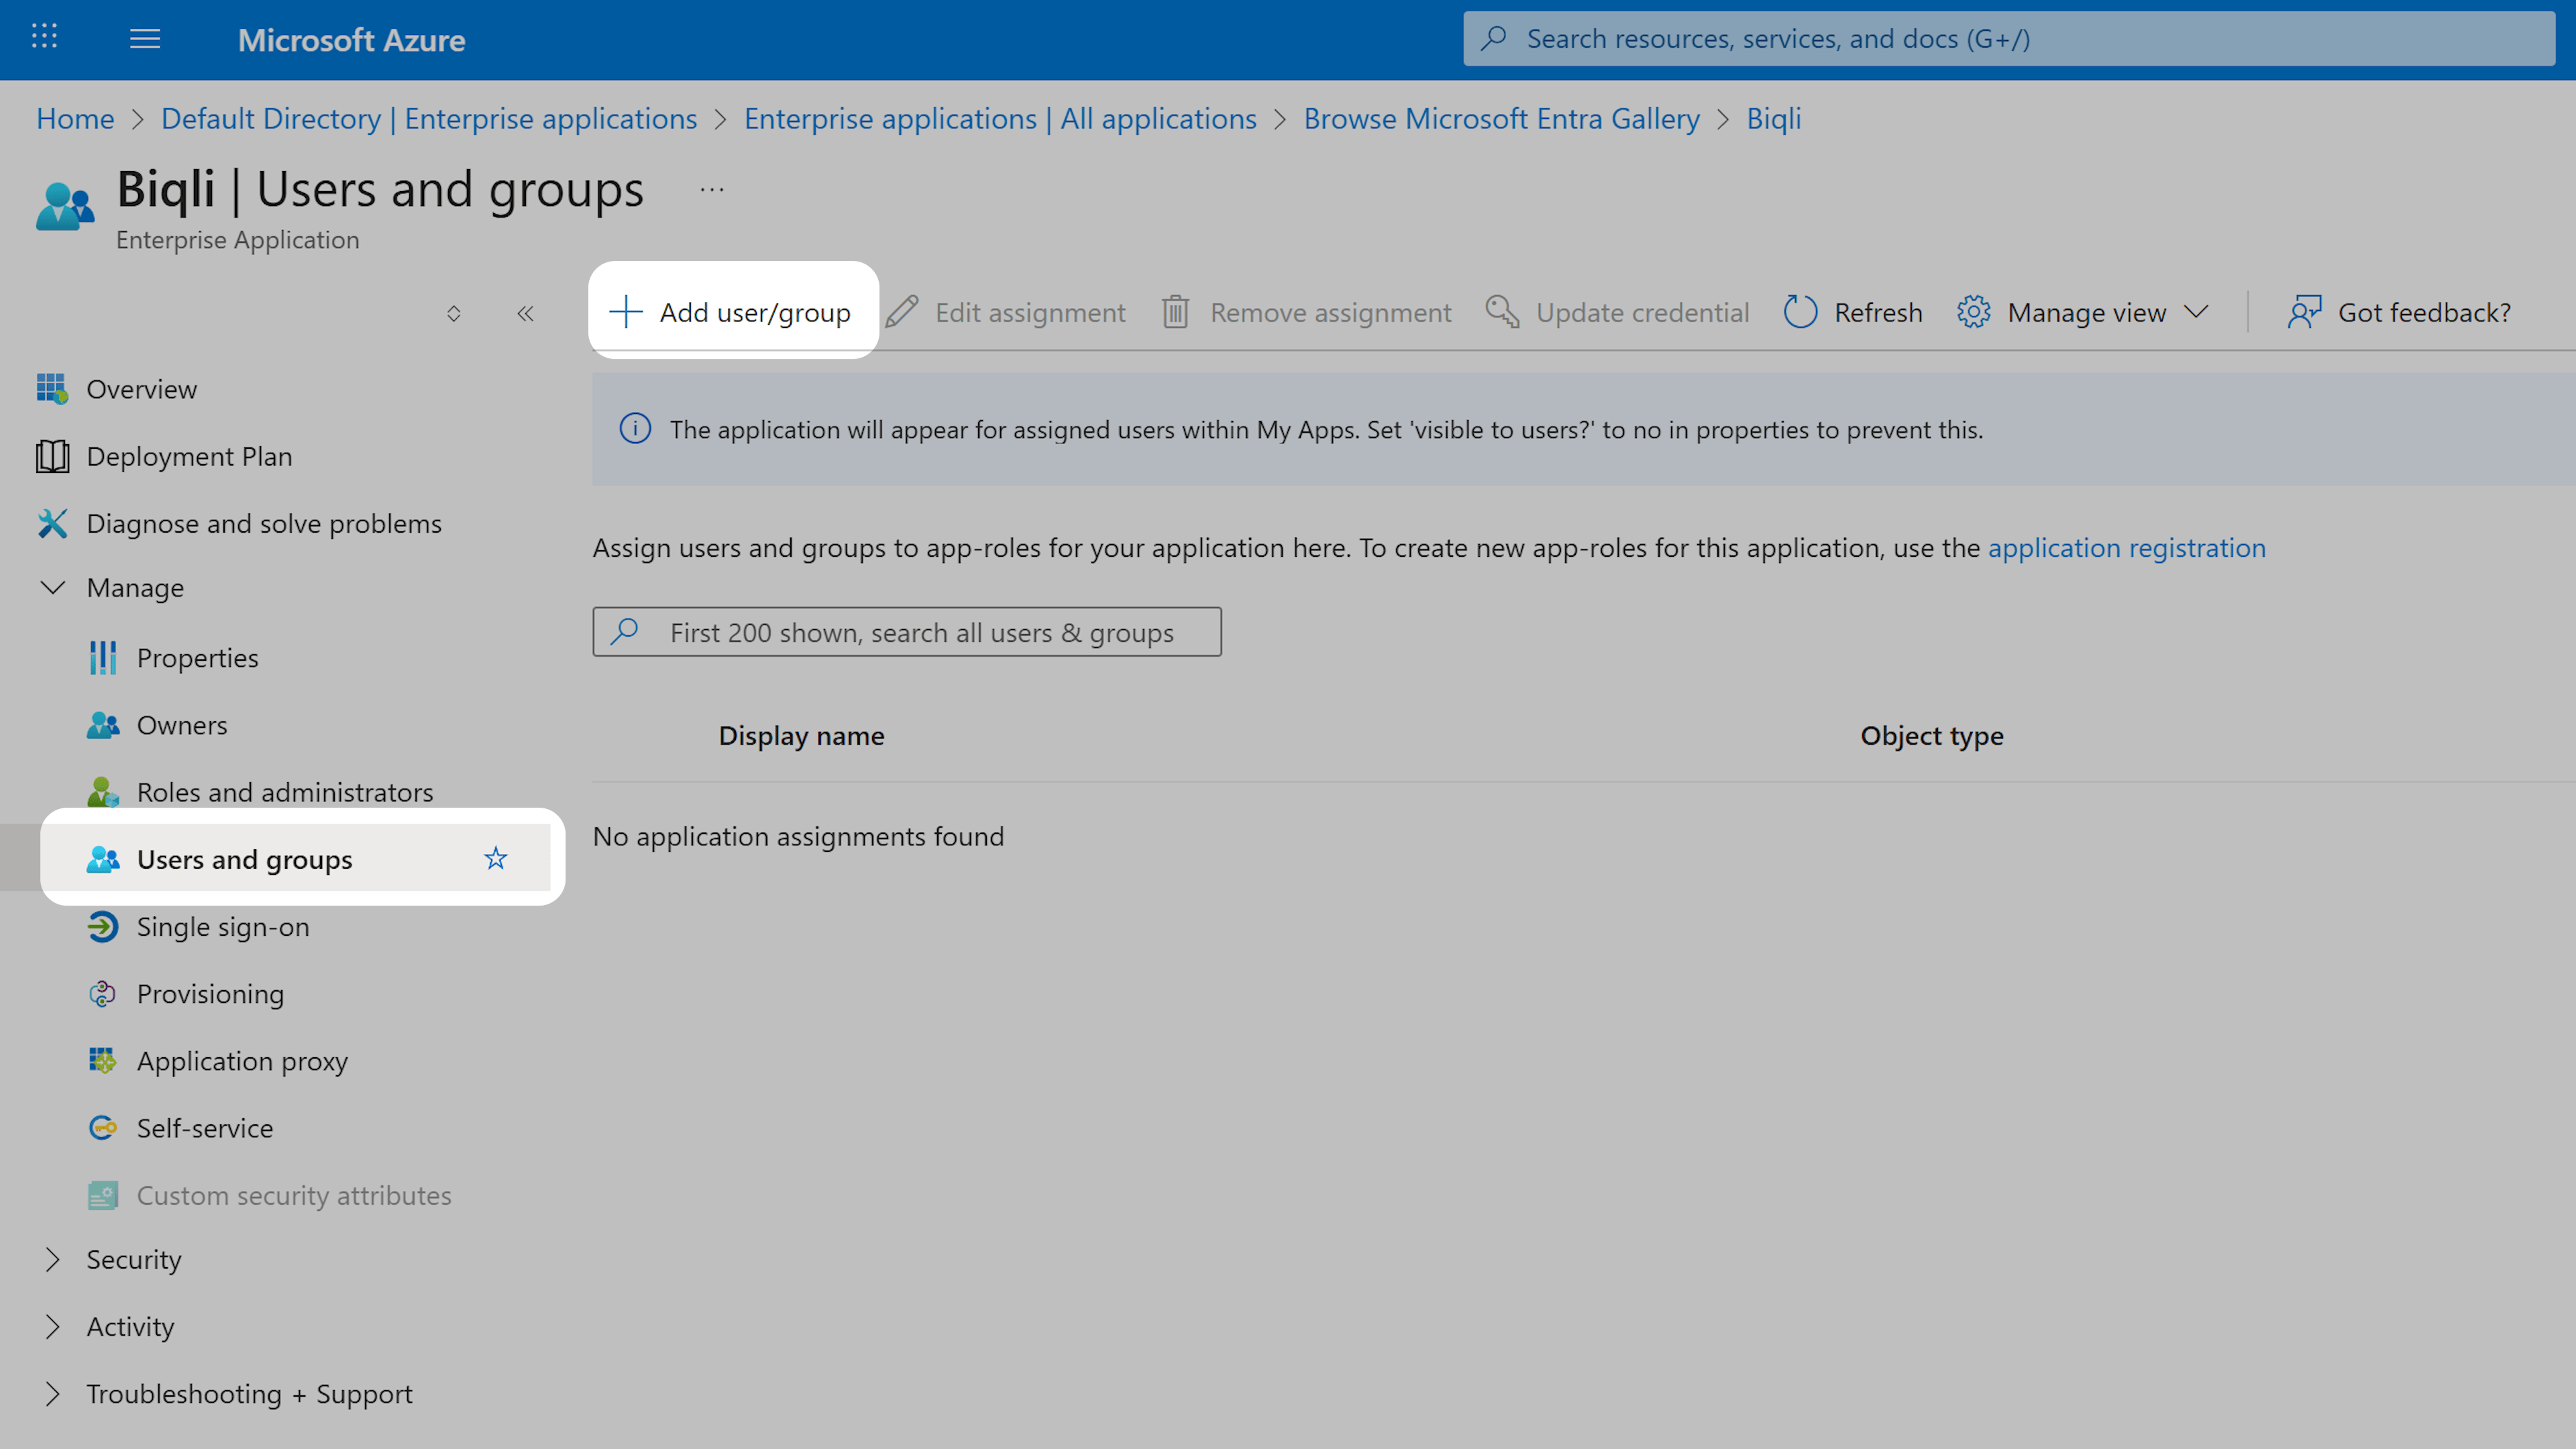 Click **None Selected** under **Users**, select your users, click **Select**, and click **Assign** to confirm.
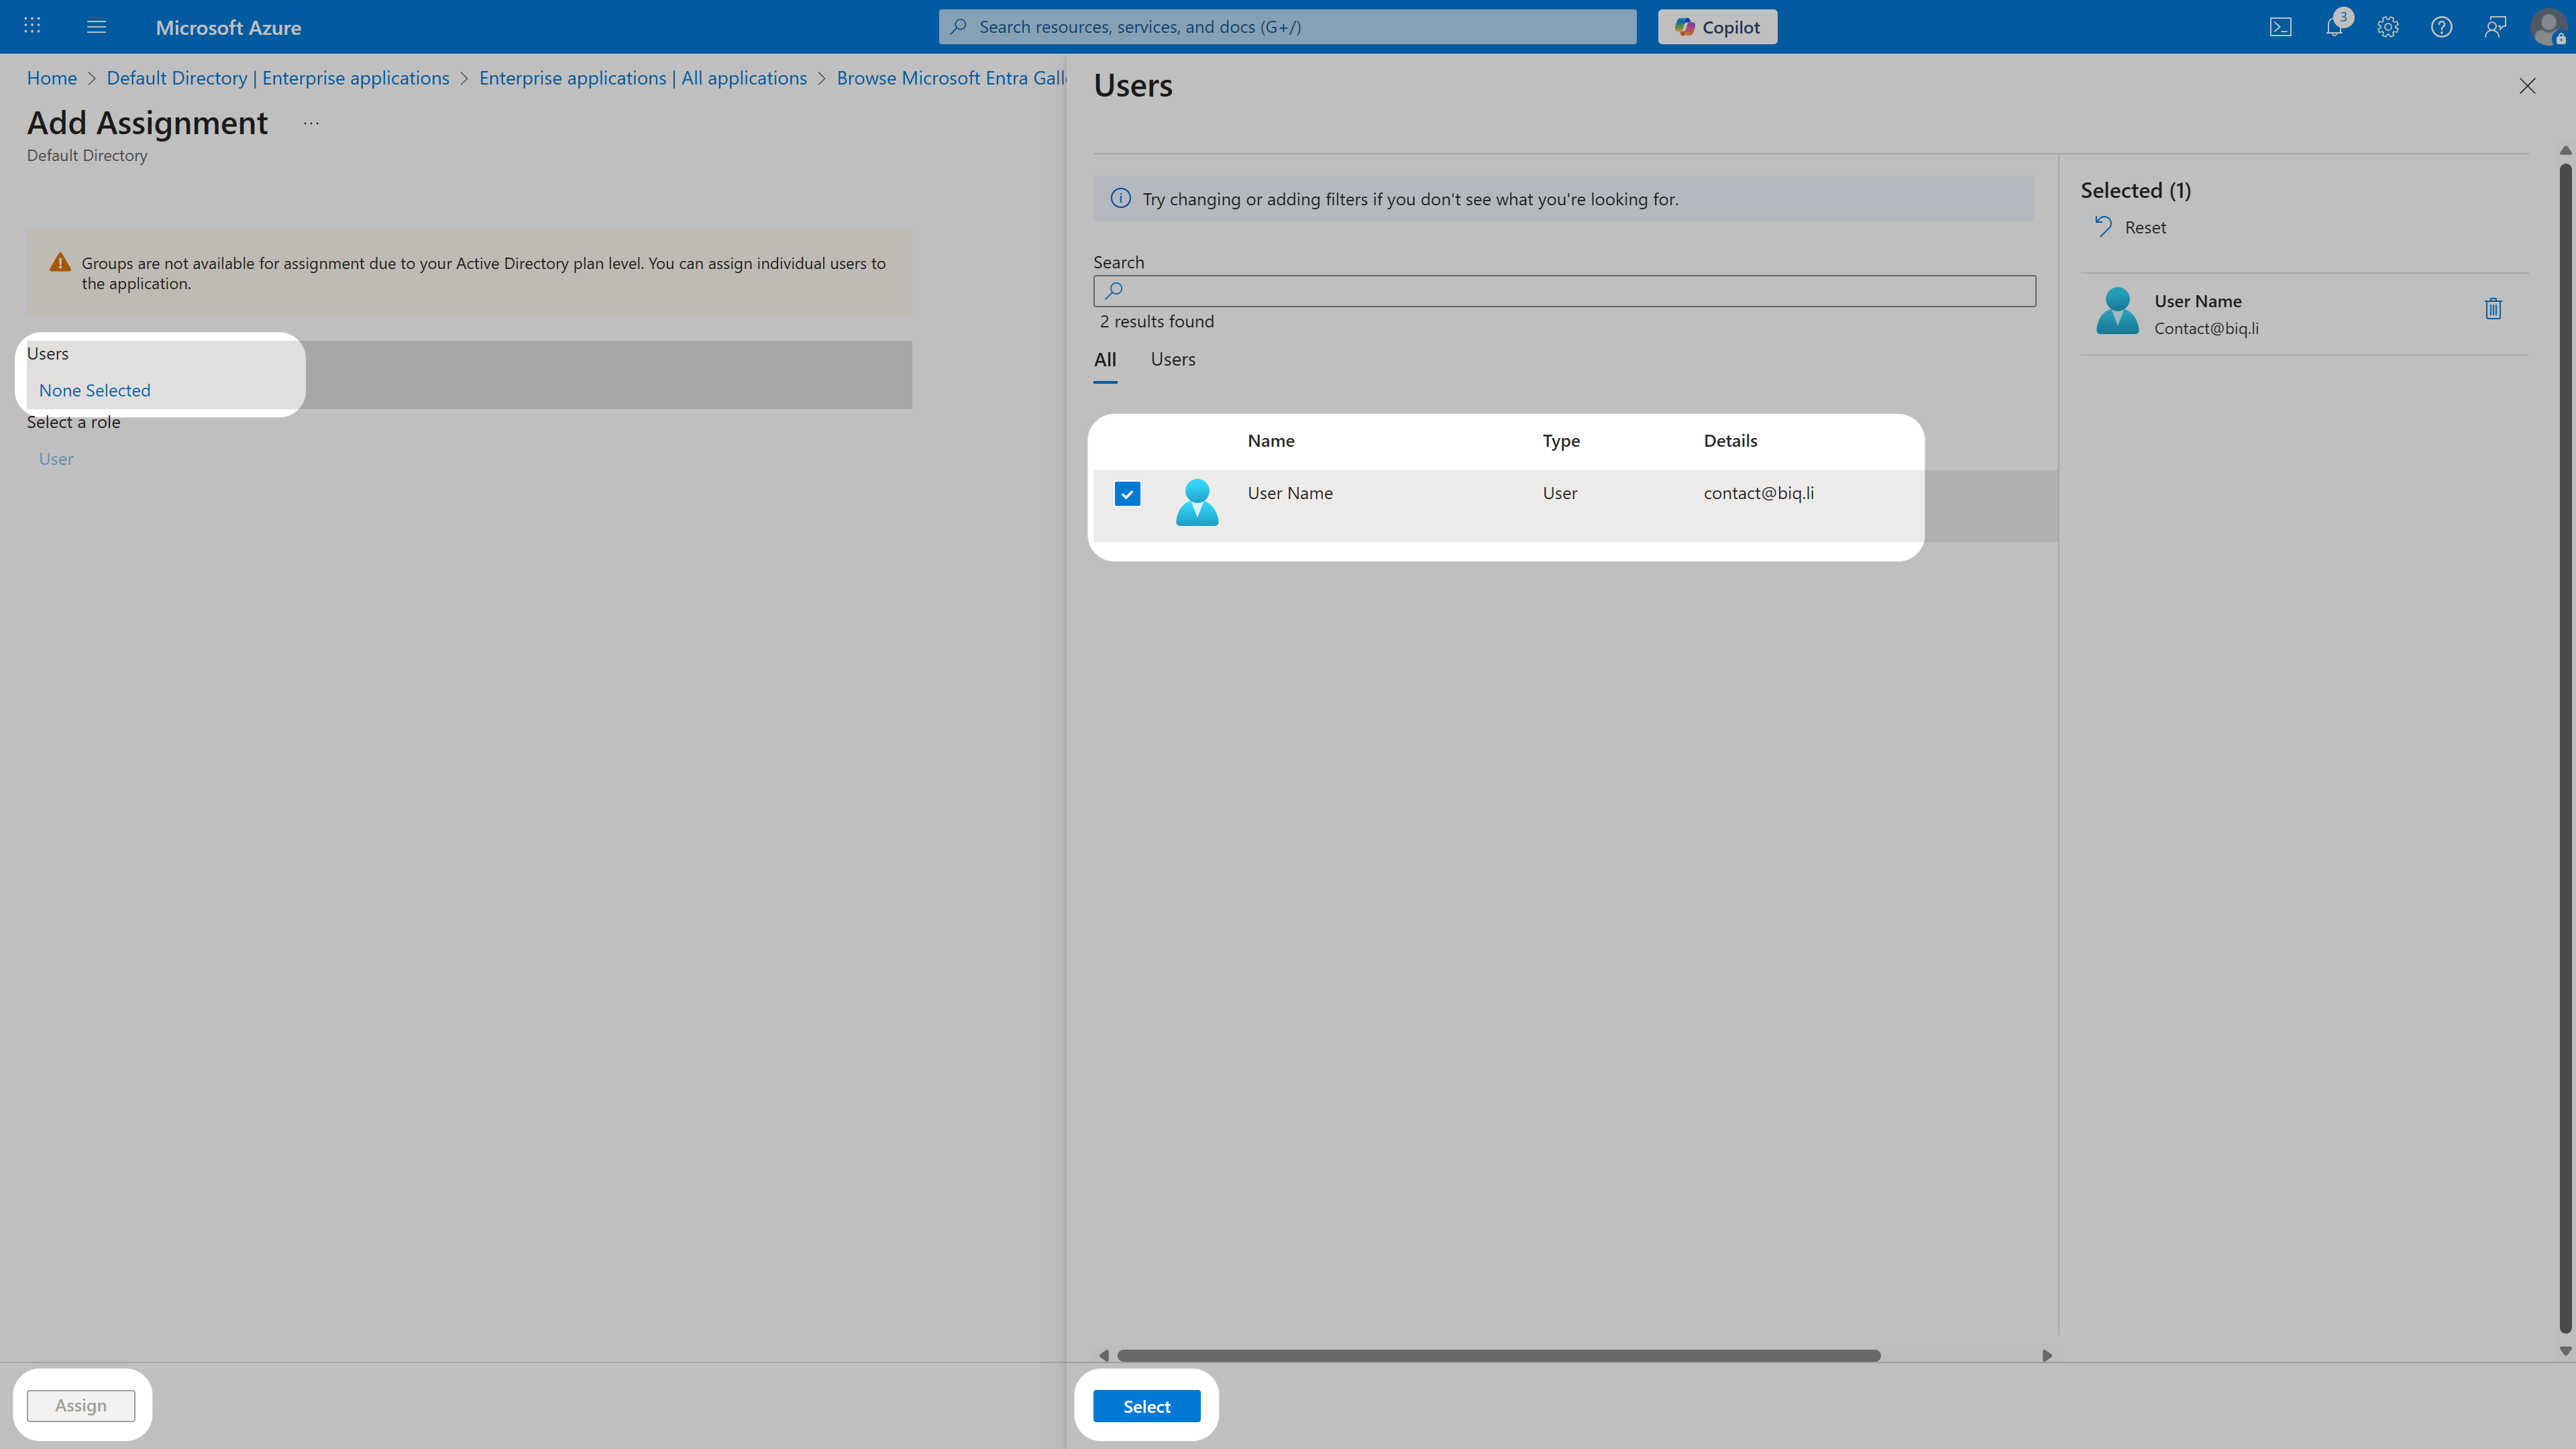 Your assigned users will now have their accounts automatically created in Biqli, attached to the workspace, and enabled to sign in.
***
## Technical Notes
**Sync Latency**: Azure AD SCIM provisioning runs on a background schedule and can take **between 20 to 40 minutes** to synchronize. If you need users to be added immediately, you can use Azure's **Provision on Demand** option to trigger instant syncing for selected users.
Your assigned users will now have their accounts automatically created in Biqli, attached to the workspace, and enabled to sign in.
***
## Technical Notes
**Sync Latency**: Azure AD SCIM provisioning runs on a background schedule and can take **between 20 to 40 minutes** to synchronize. If you need users to be added immediately, you can use Azure's **Provision on Demand** option to trigger instant syncing for selected users.